Since version 1.4.0, Power BI Connector for Salesforce includes a Reports section that turns any Salesforce report into a Power BI data source in one click — including joined reports, which most Salesforce-to-Power BI connectors cannot export.
This page explains how to browse your Salesforce reports, create a data source from a report, and how joined reports are handled.
1. Open Reports #
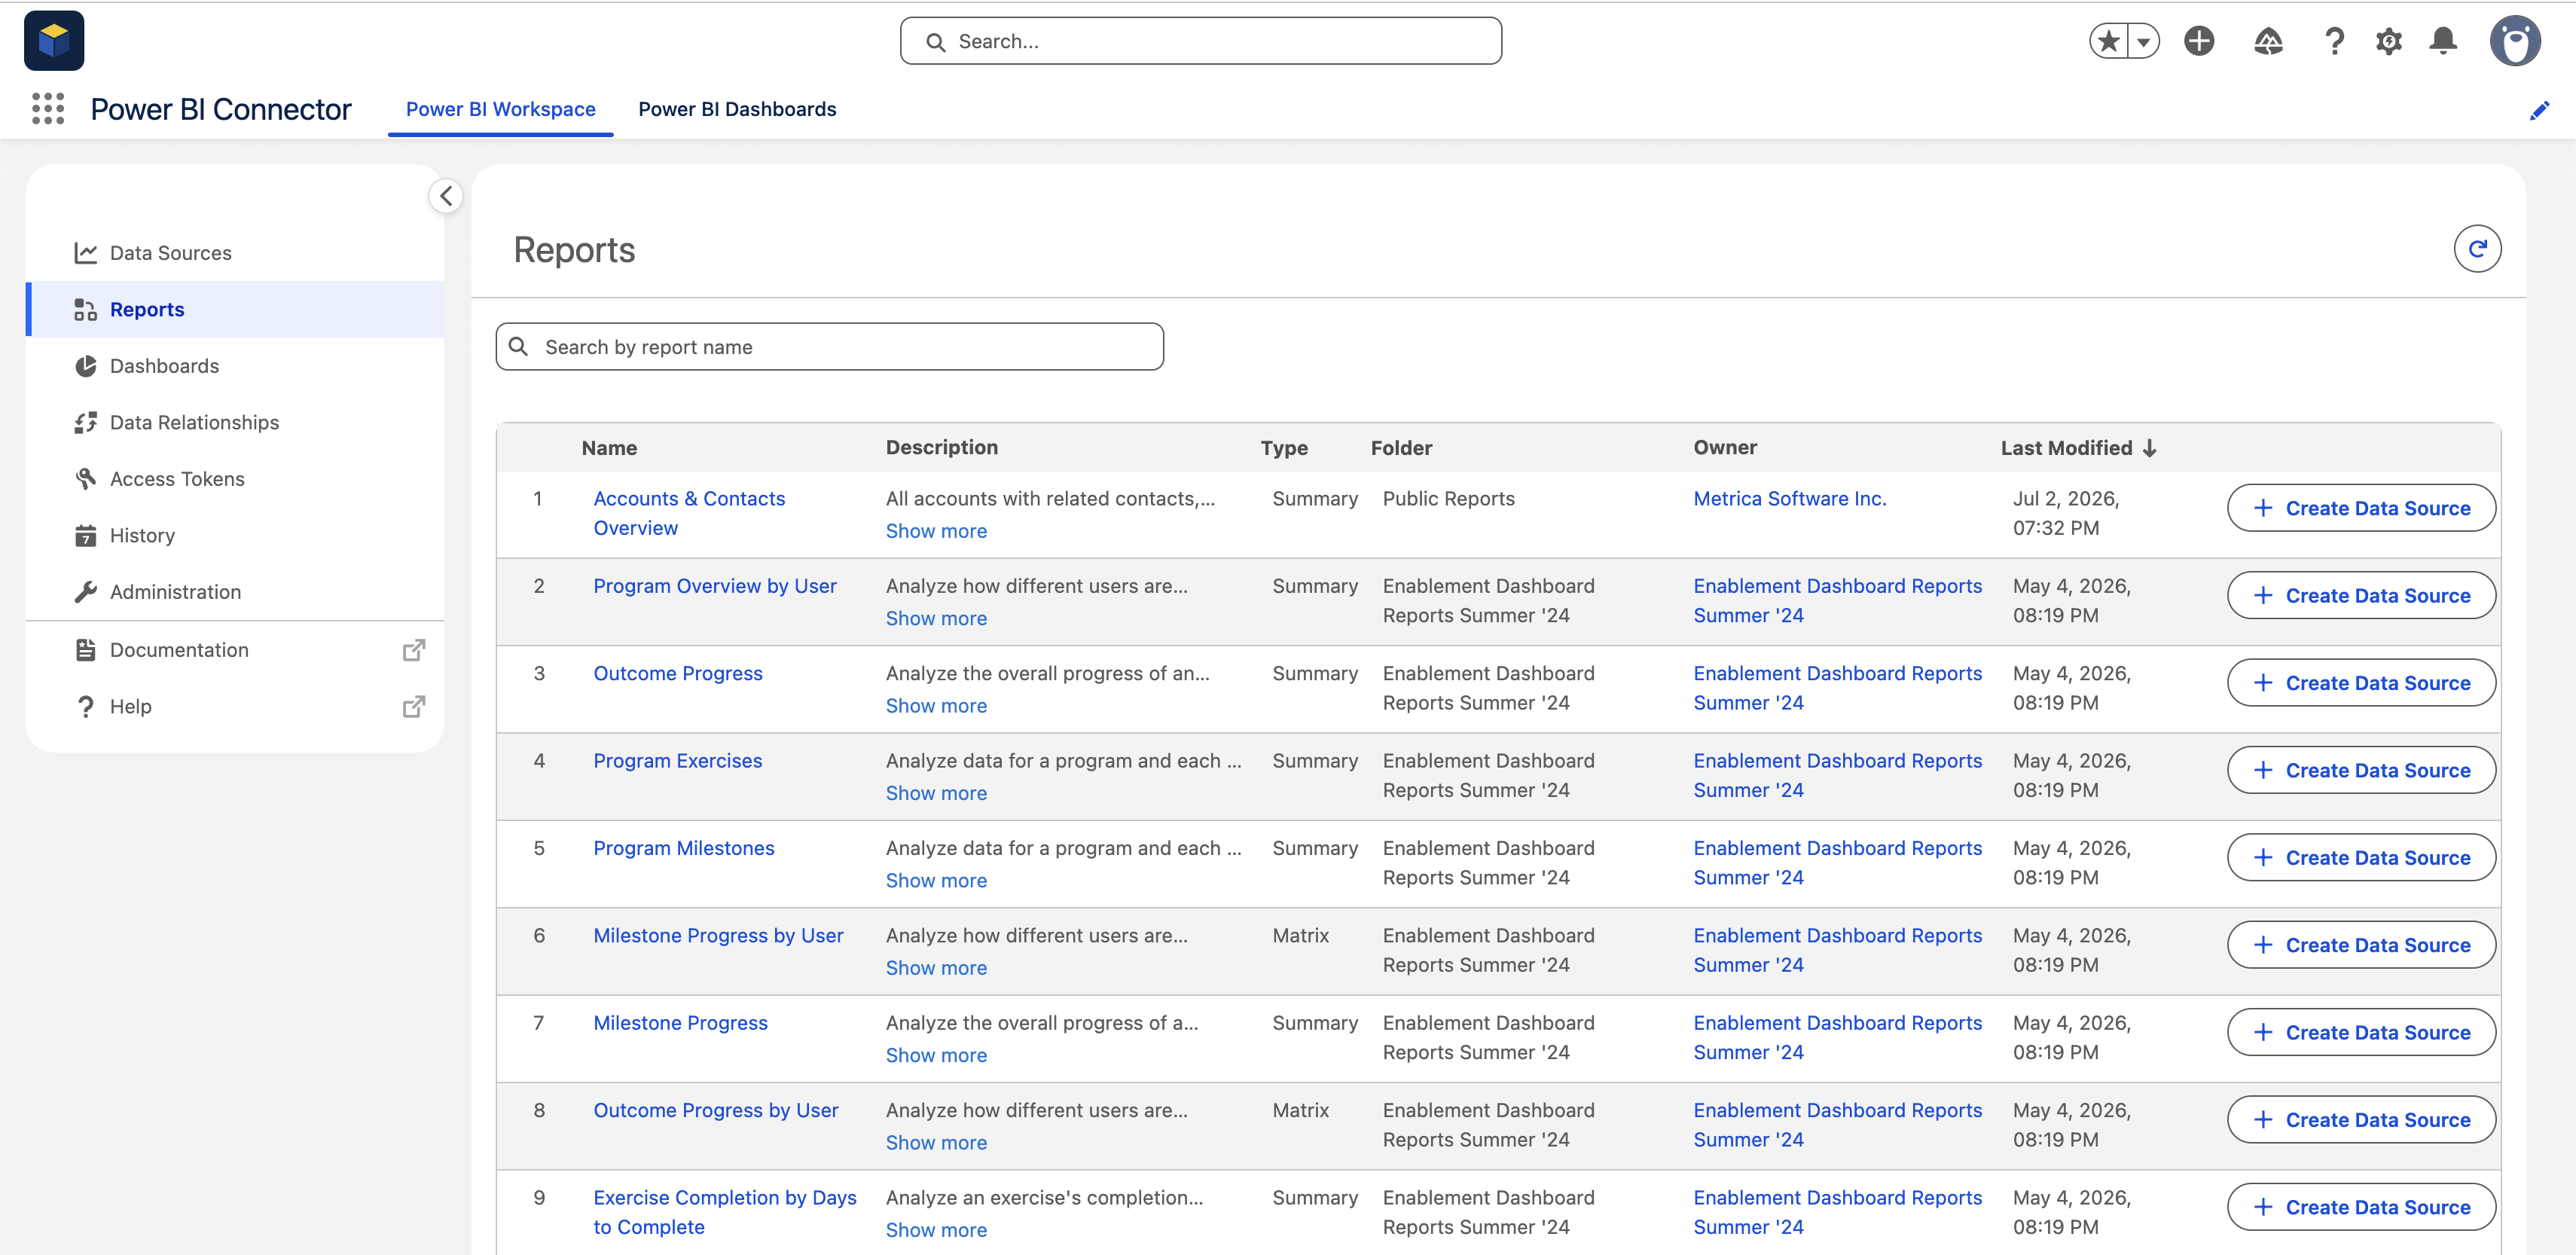
Go to Power BI Connector → Reports. The list shows the Salesforce reports available to you:
- Name and Description
- Type — Tabular, Summary, Matrix, or Joined
- Folder and Owner
- Last Modified
Use the search field to find a report by name.
2. Create a Data Source from a Report #
- Find the report in the list
- Click + Create Data Source in the report row
- The connector opens the data source editor prefilled with the report’s name, description, objects, and fields
- Review, adjust if needed, and click Save — the new data source appears under Data Sources
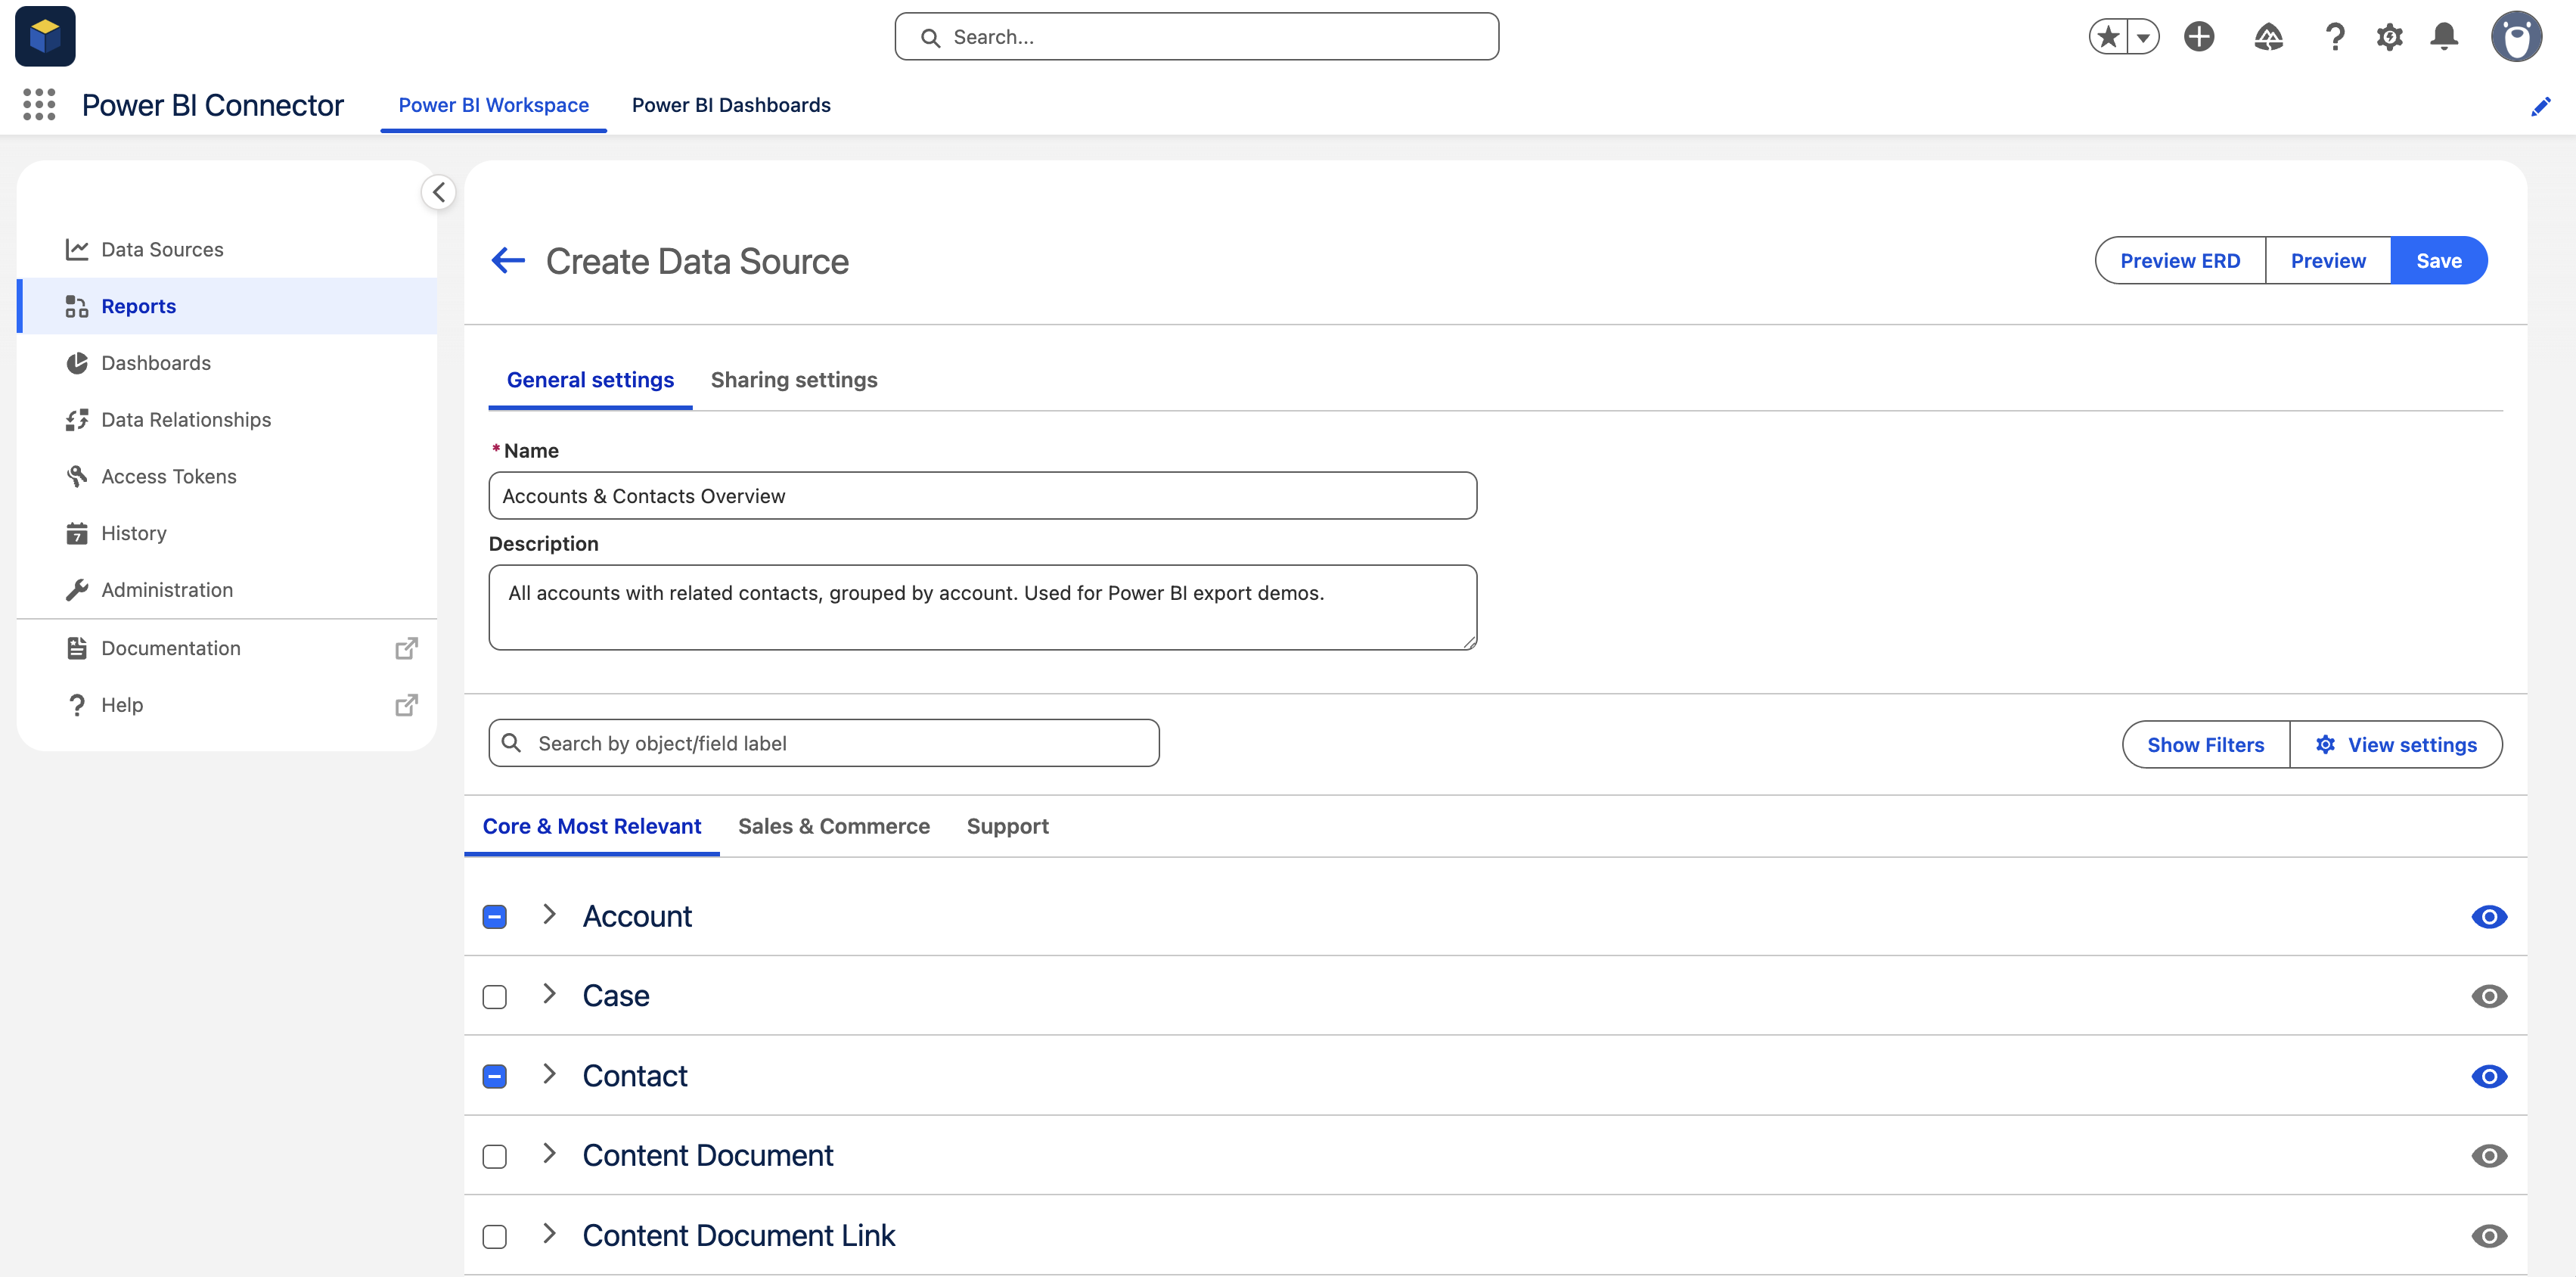
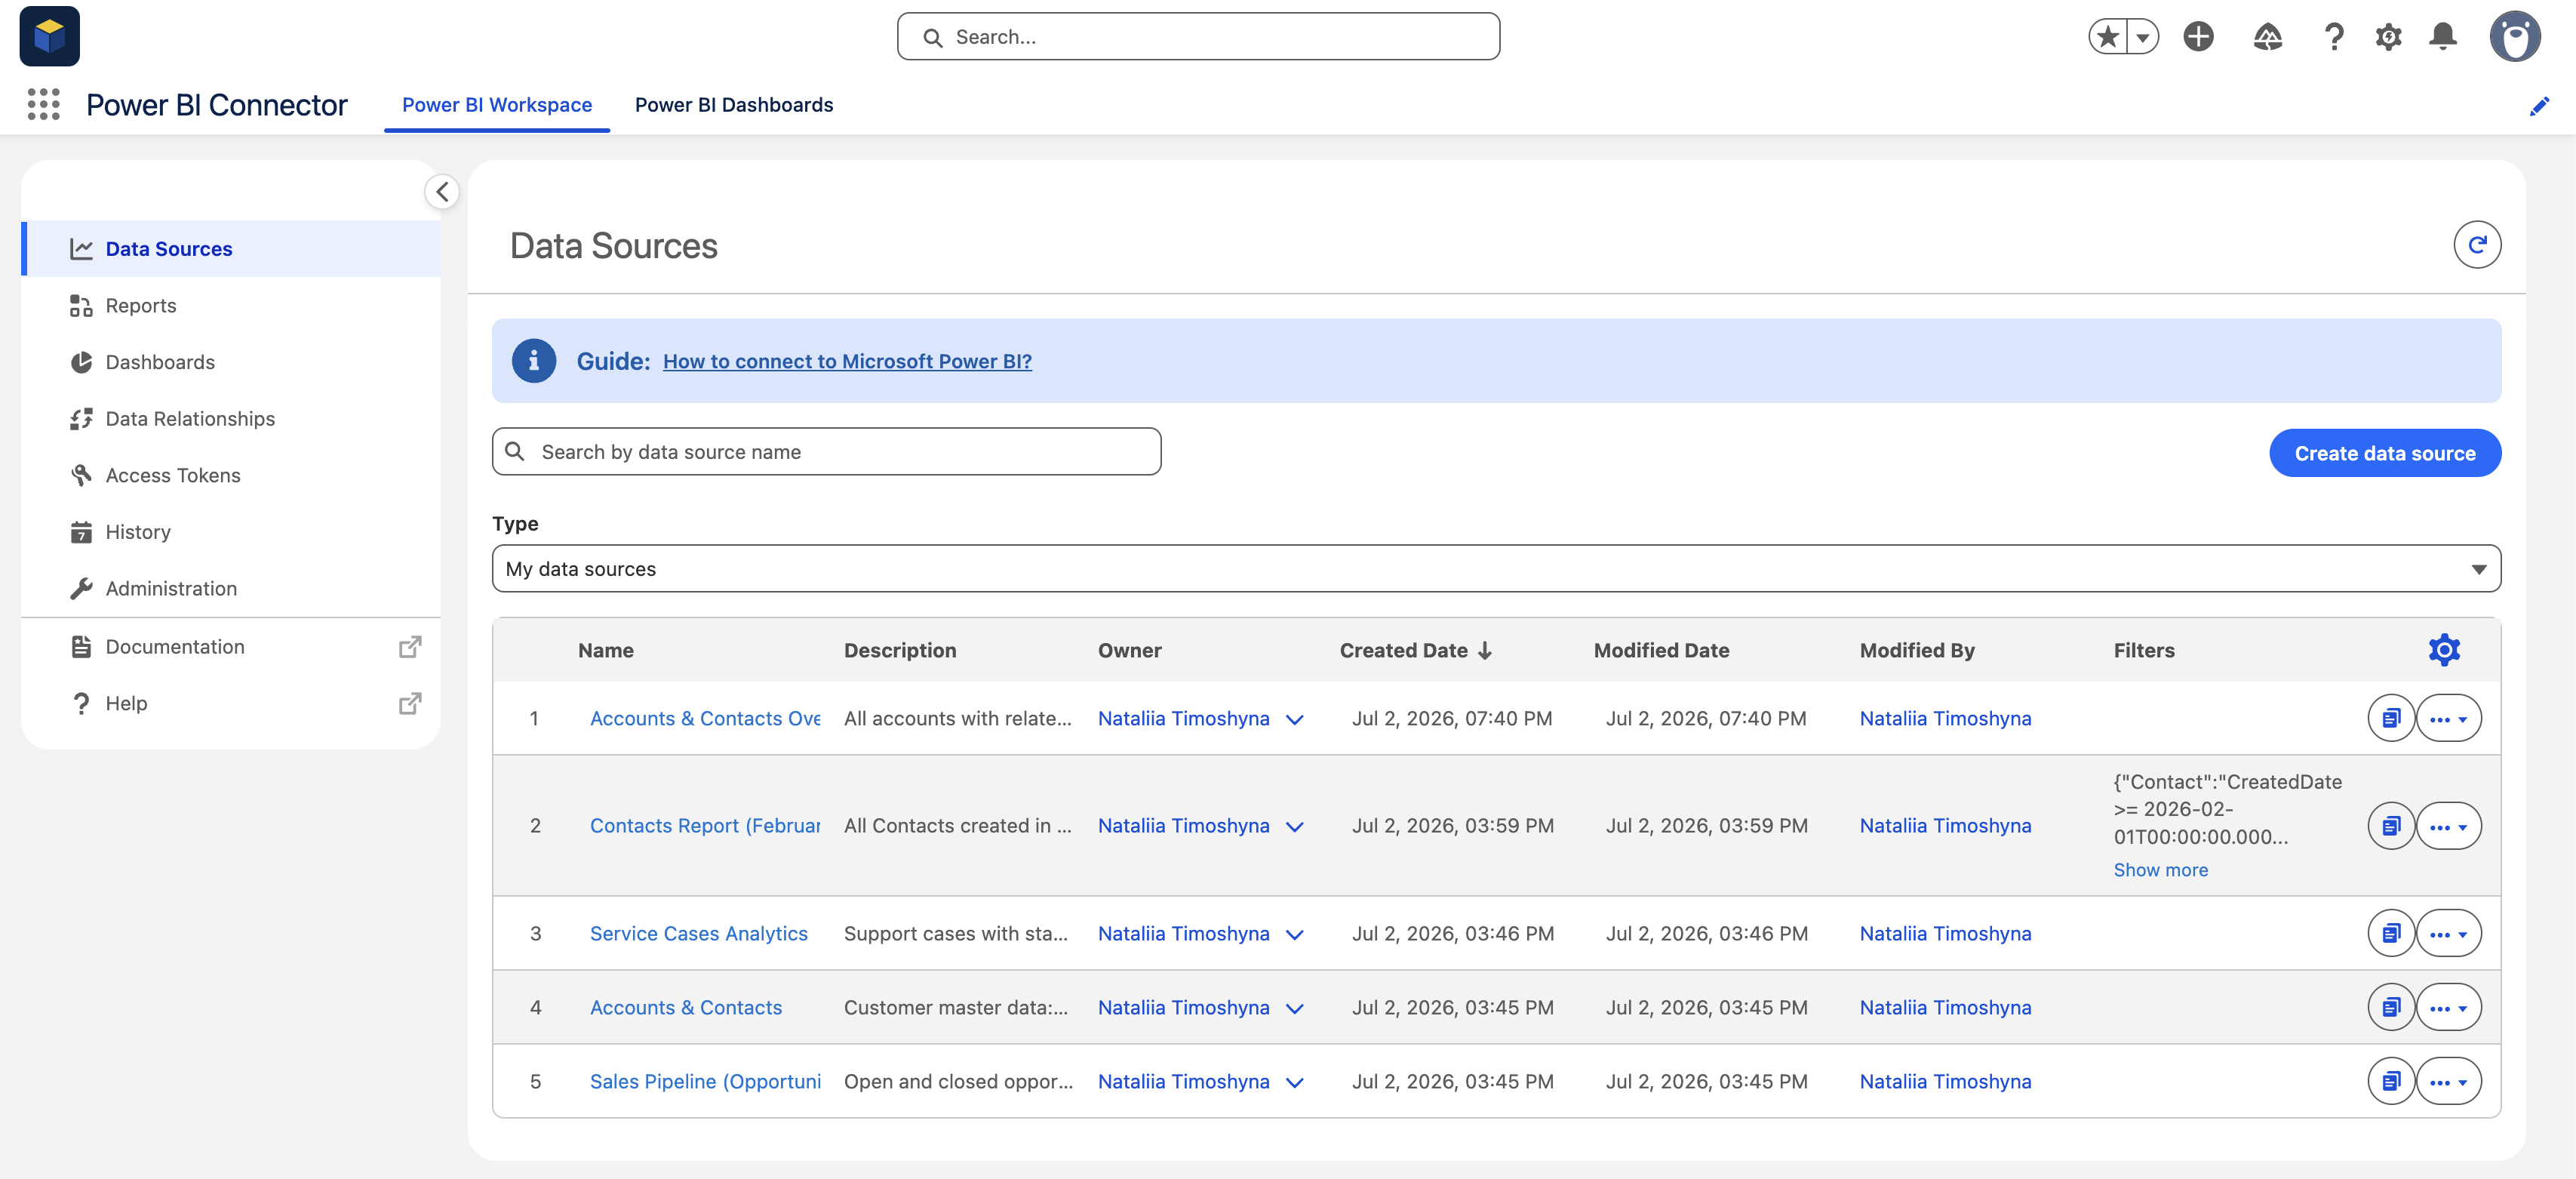
The generated data source behaves like any other: you can edit fields and filters, preview data and ERD, share it, and connect it to Power BI.
3. Joined Reports Support #
Joined reports combine multiple report blocks — often with different report types — in a single Salesforce report. Exporting them has traditionally been a gap in Salesforce-to-Power BI tooling.
Power BI Connector for Salesforce supports joined reports natively. Create a data source from a joined report exactly the same way as from any other report type — the underlying data of the report blocks is exported so you can rebuild cross-object views in Power BI.
💡 Notes #
- The Reports list follows your Salesforce permissions — you only see reports in folders you have access to
- A report is a starting point: after creation, refine the data source with fields and filters like any other data source


