- Before you start
- Step 1: Open the AppExchange listing
- Step 2: Click “Get It Now” and choose your target
- Step 3: Sign in
- Step 4: Choose who can use the app
- Step 5: Approve third-party access
- Step 6: Confirm installation details
- Step 7: Wait for the install to complete
- Step 8: Open the connector
- Step 9: Choose a setup path
- Need to remove the connector later?
Power BI Connector for Salesforce is distributed through the Salesforce AppExchange. This page walks through installing the app into your Salesforce org. After installation, you’ll be prompted to choose how to authorize the connector — that’s covered at the bottom under Choose a setup path.
Before you start #
- You need Salesforce administrator credentials for the org where you’re installing.
- For non-production testing, install into a sandbox first.
Step 1: Open the AppExchange listing #
Go to Power BI Connector for Salesforce on AppExchange.
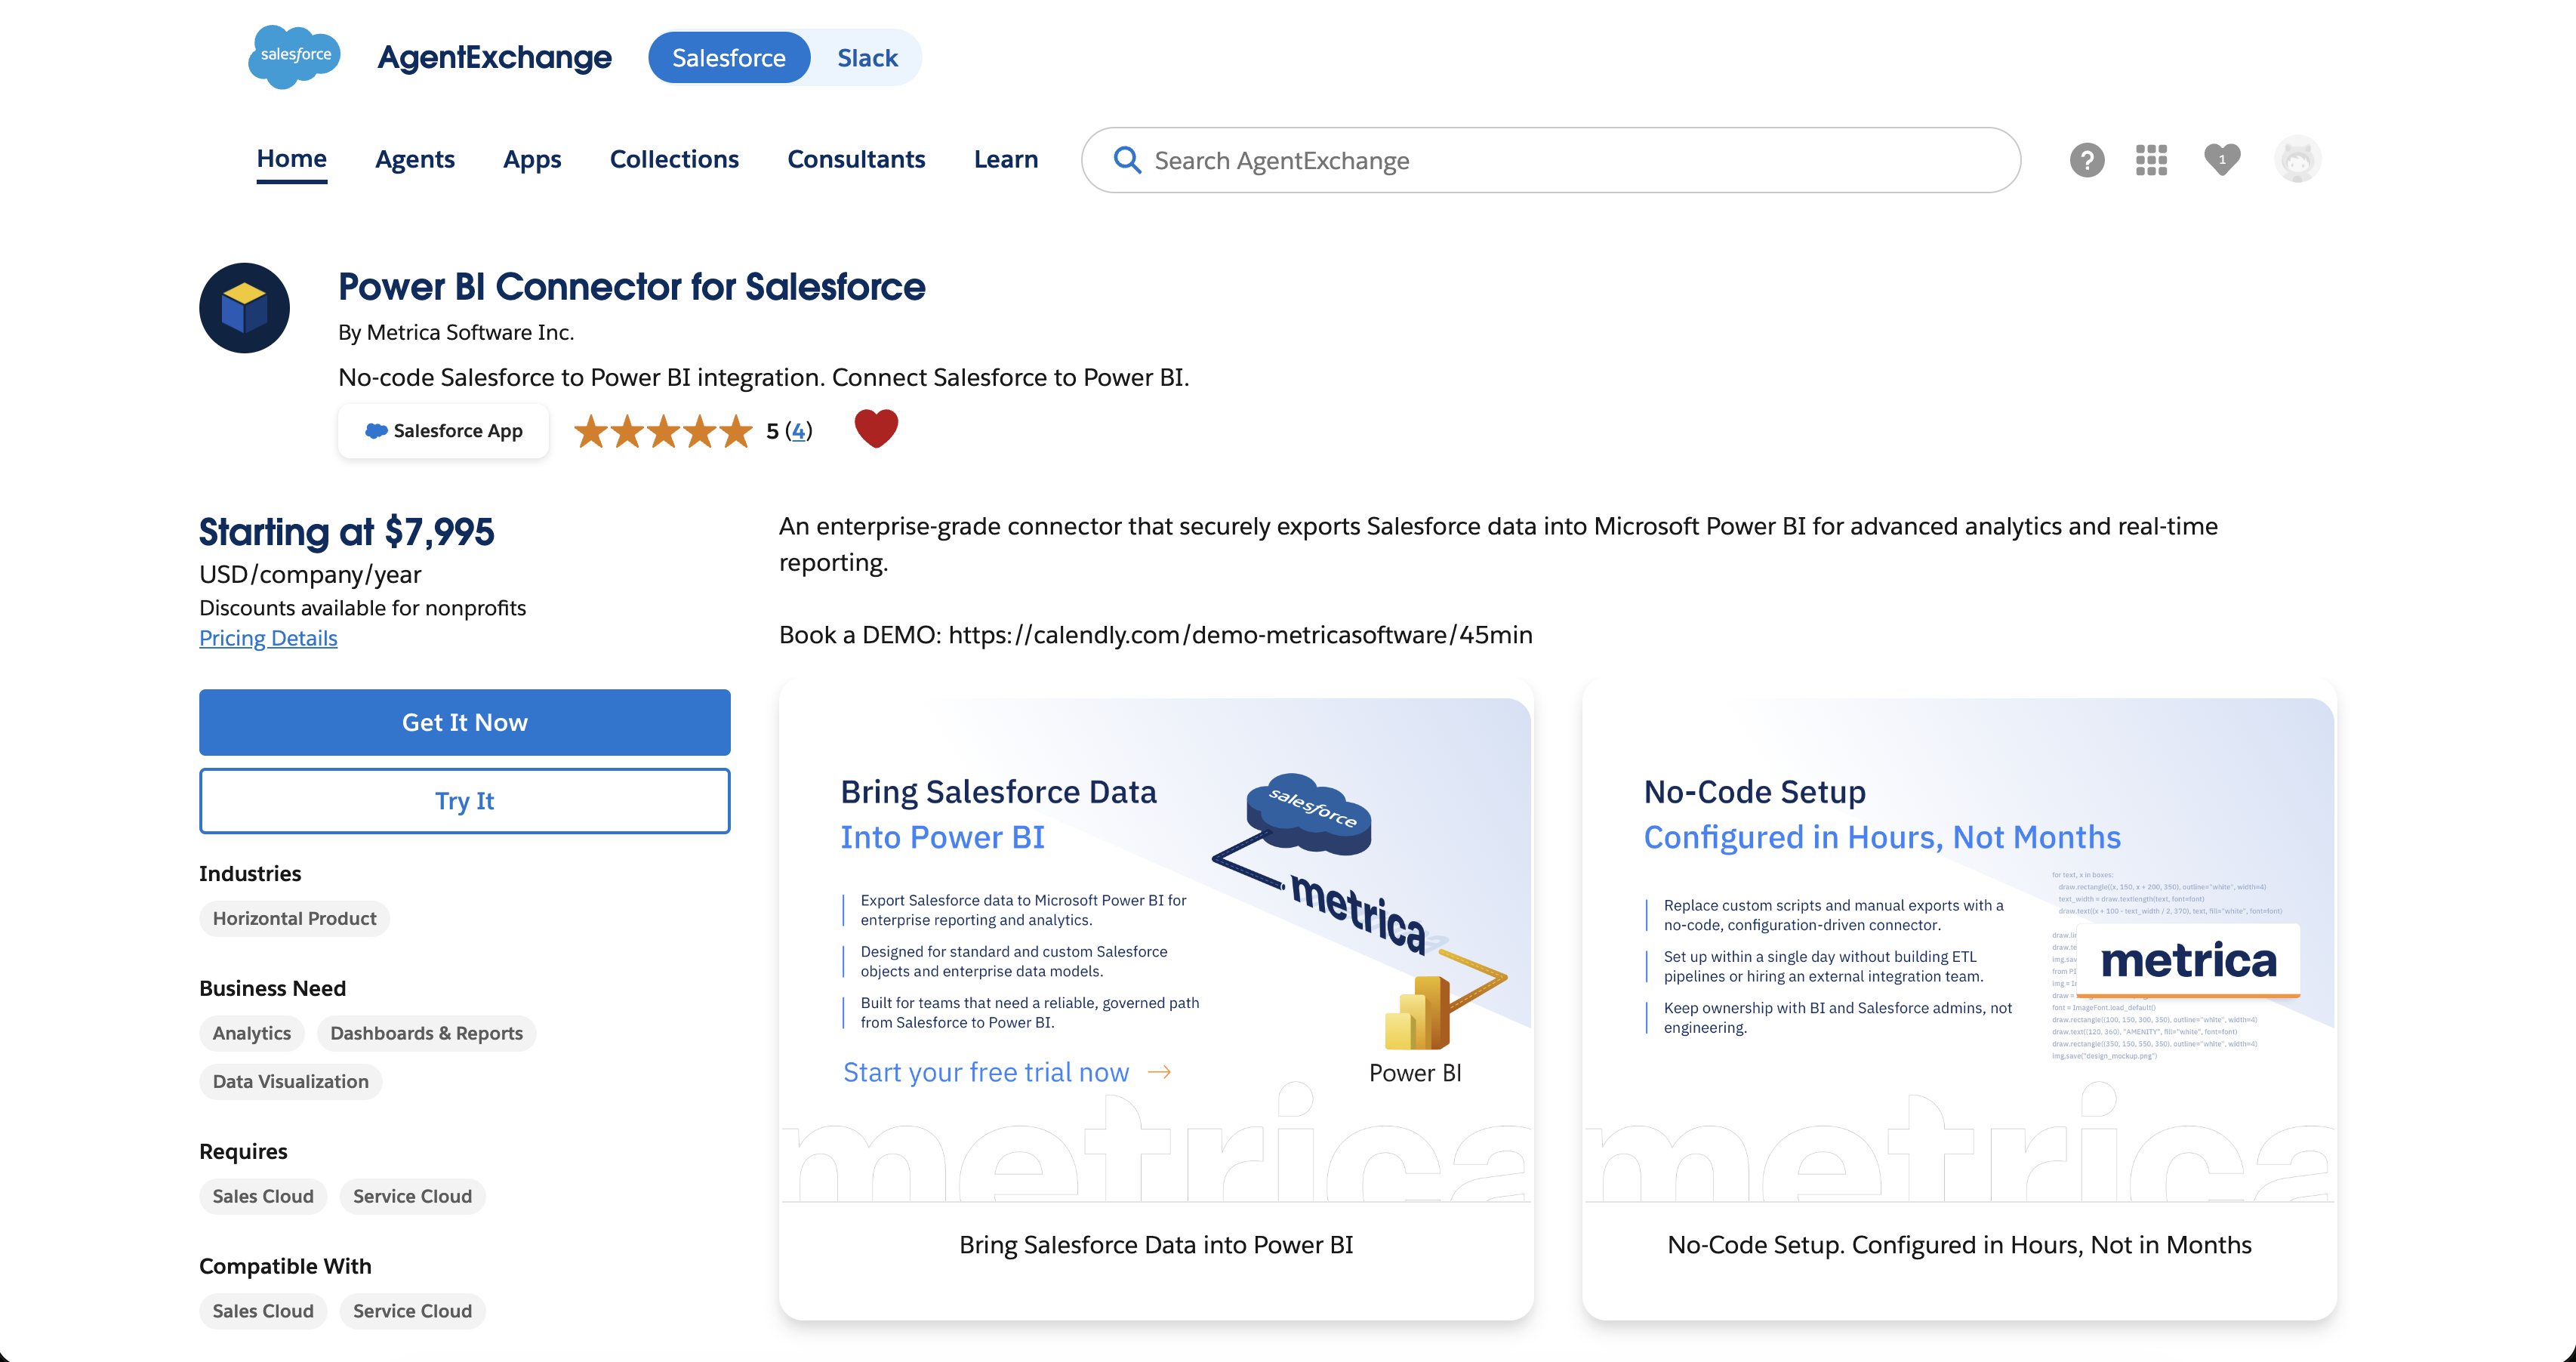
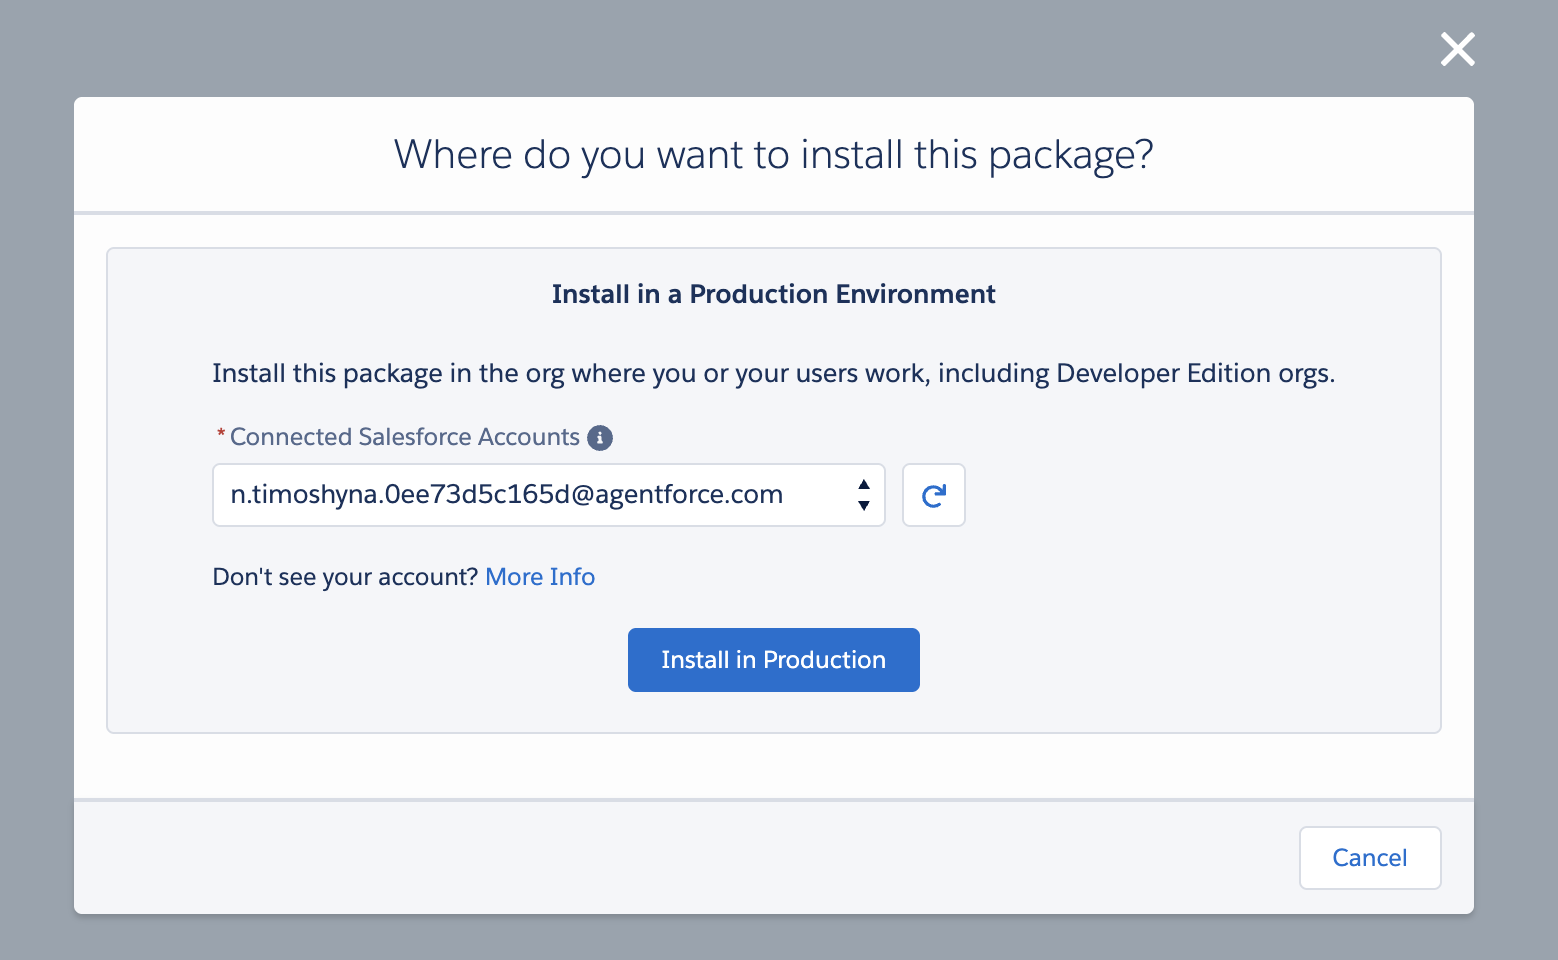
Step 2: Click “Get It Now” and choose your target #
From the listing, click Get It Now. Salesforce asks where to install:
- Install in Production — live orgs and Developer Edition orgs.
- Install in Sandbox — recommended for staging the install before promoting to production.
Step 3: Sign in #
Sign in to your Salesforce org with administrator credentials.
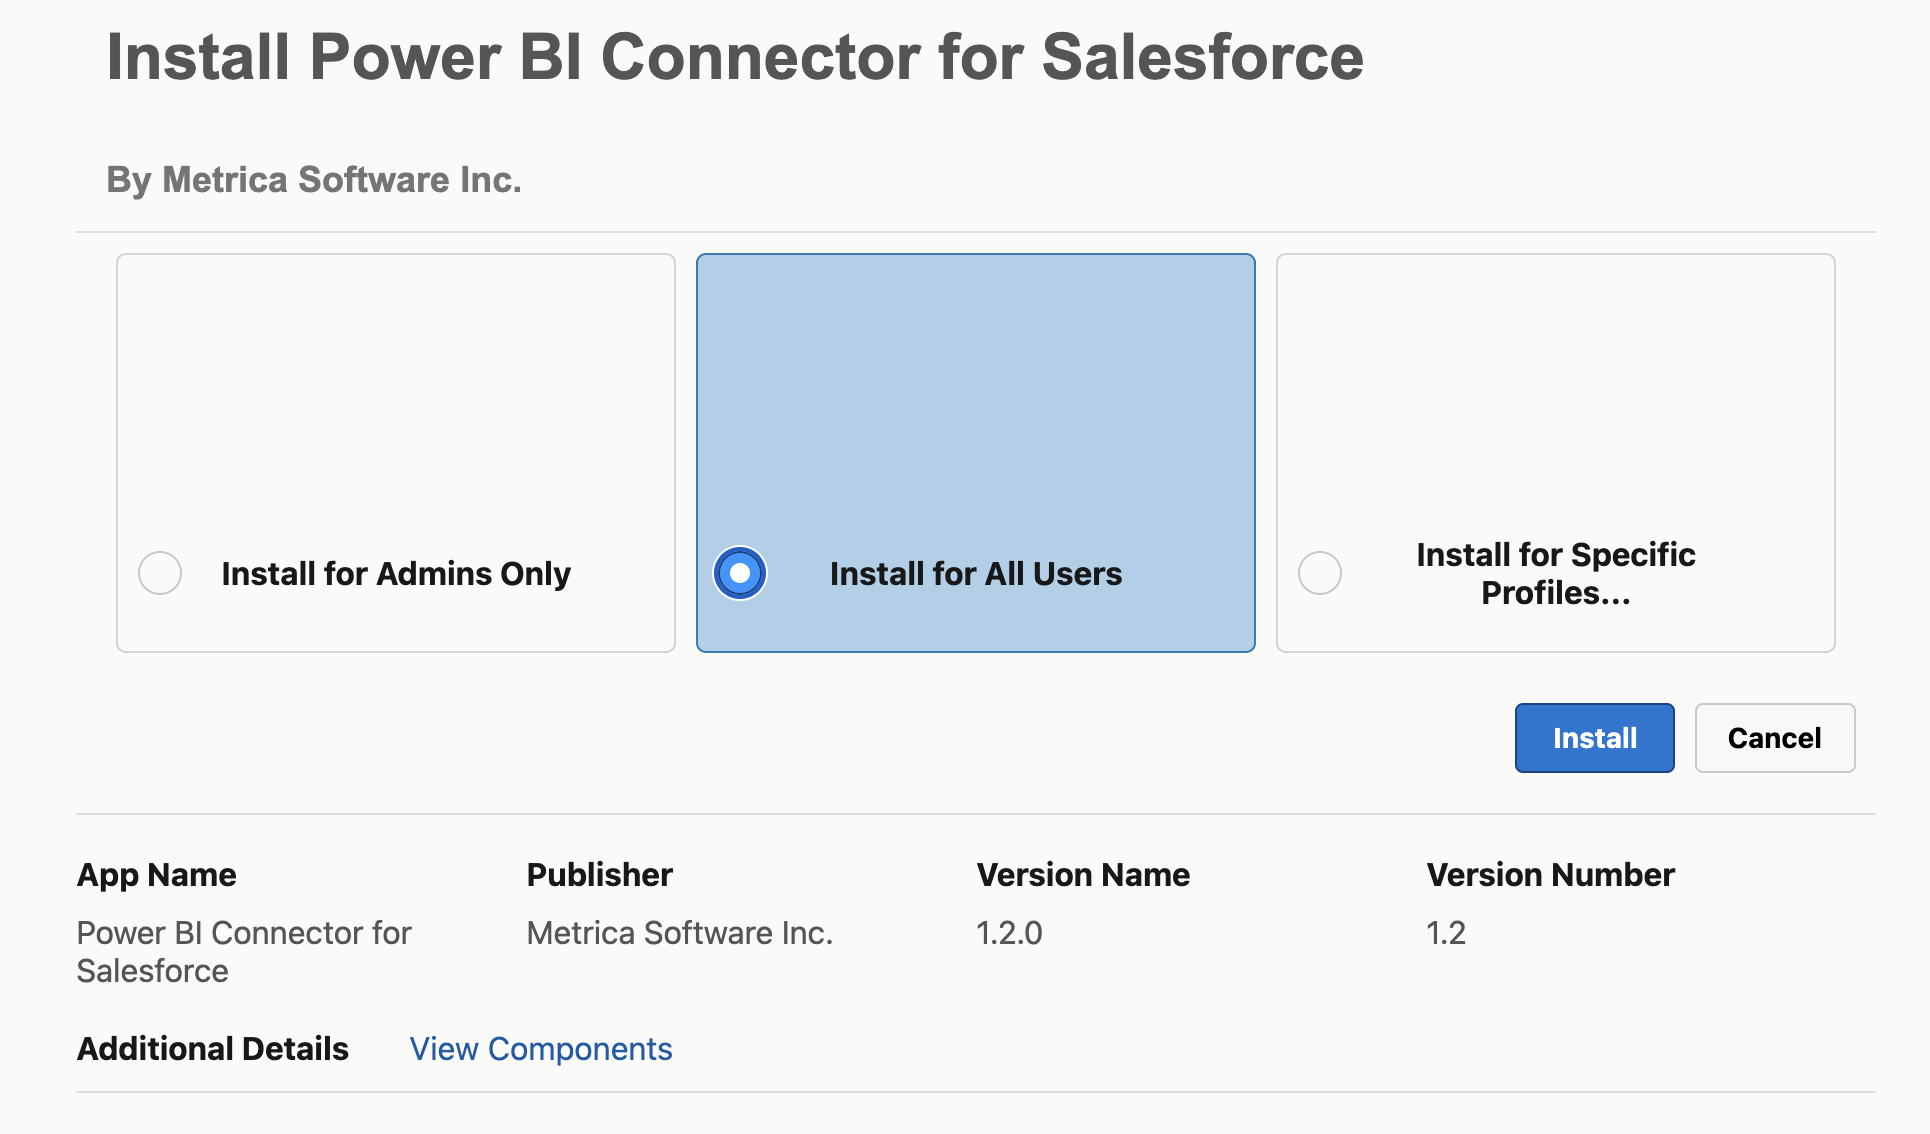
Step 4: Choose who can use the app #
Salesforce asks who should have access to the installed package:
- Install for Admins Only — only system administrators can access. Use this if you want to test the connector before opening it to other users.
- Install for All Users — everyone in the org can access. Recommended for most cases — you can still refine access later via permission sets.
- Install for Specific Profiles… — grant access by Salesforce profile.
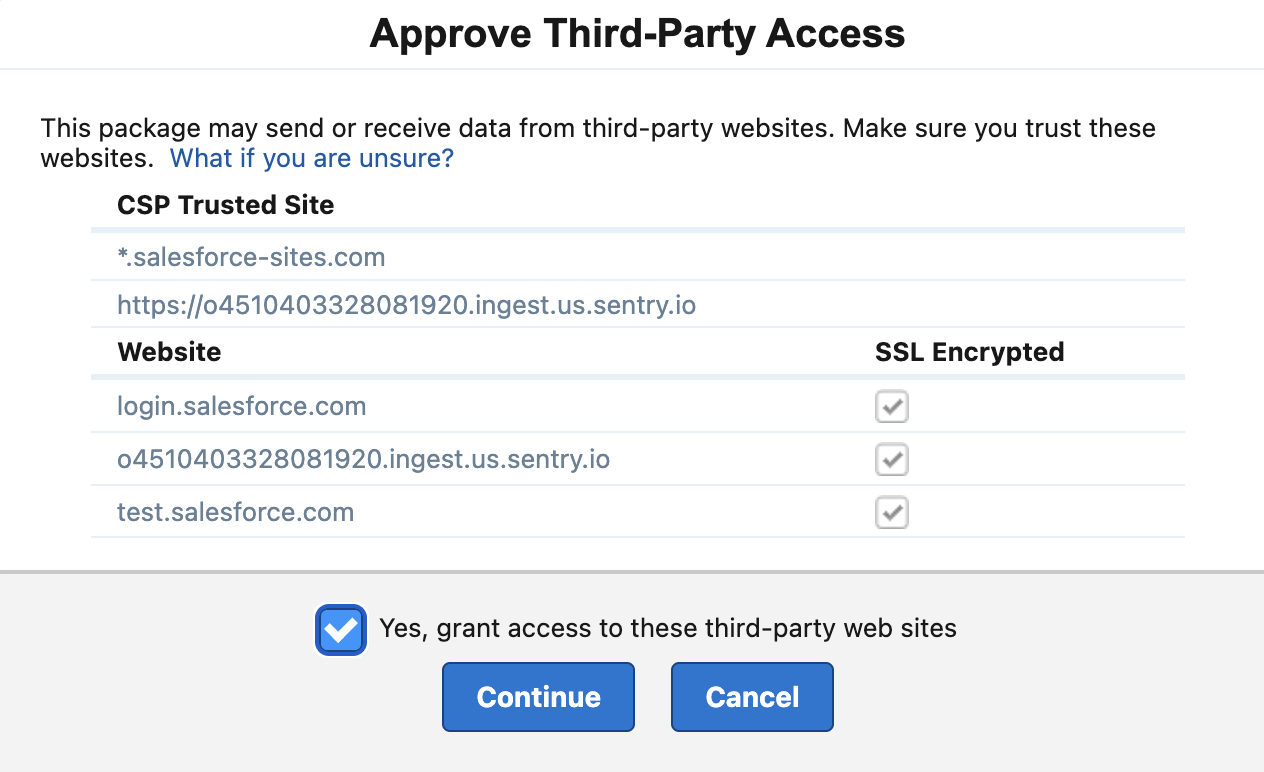
Step 5: Approve third-party access #
The installer asks you to approve the sites the connector communicates with. Tick Yes, grant access to these third-party web sites and click Continue.
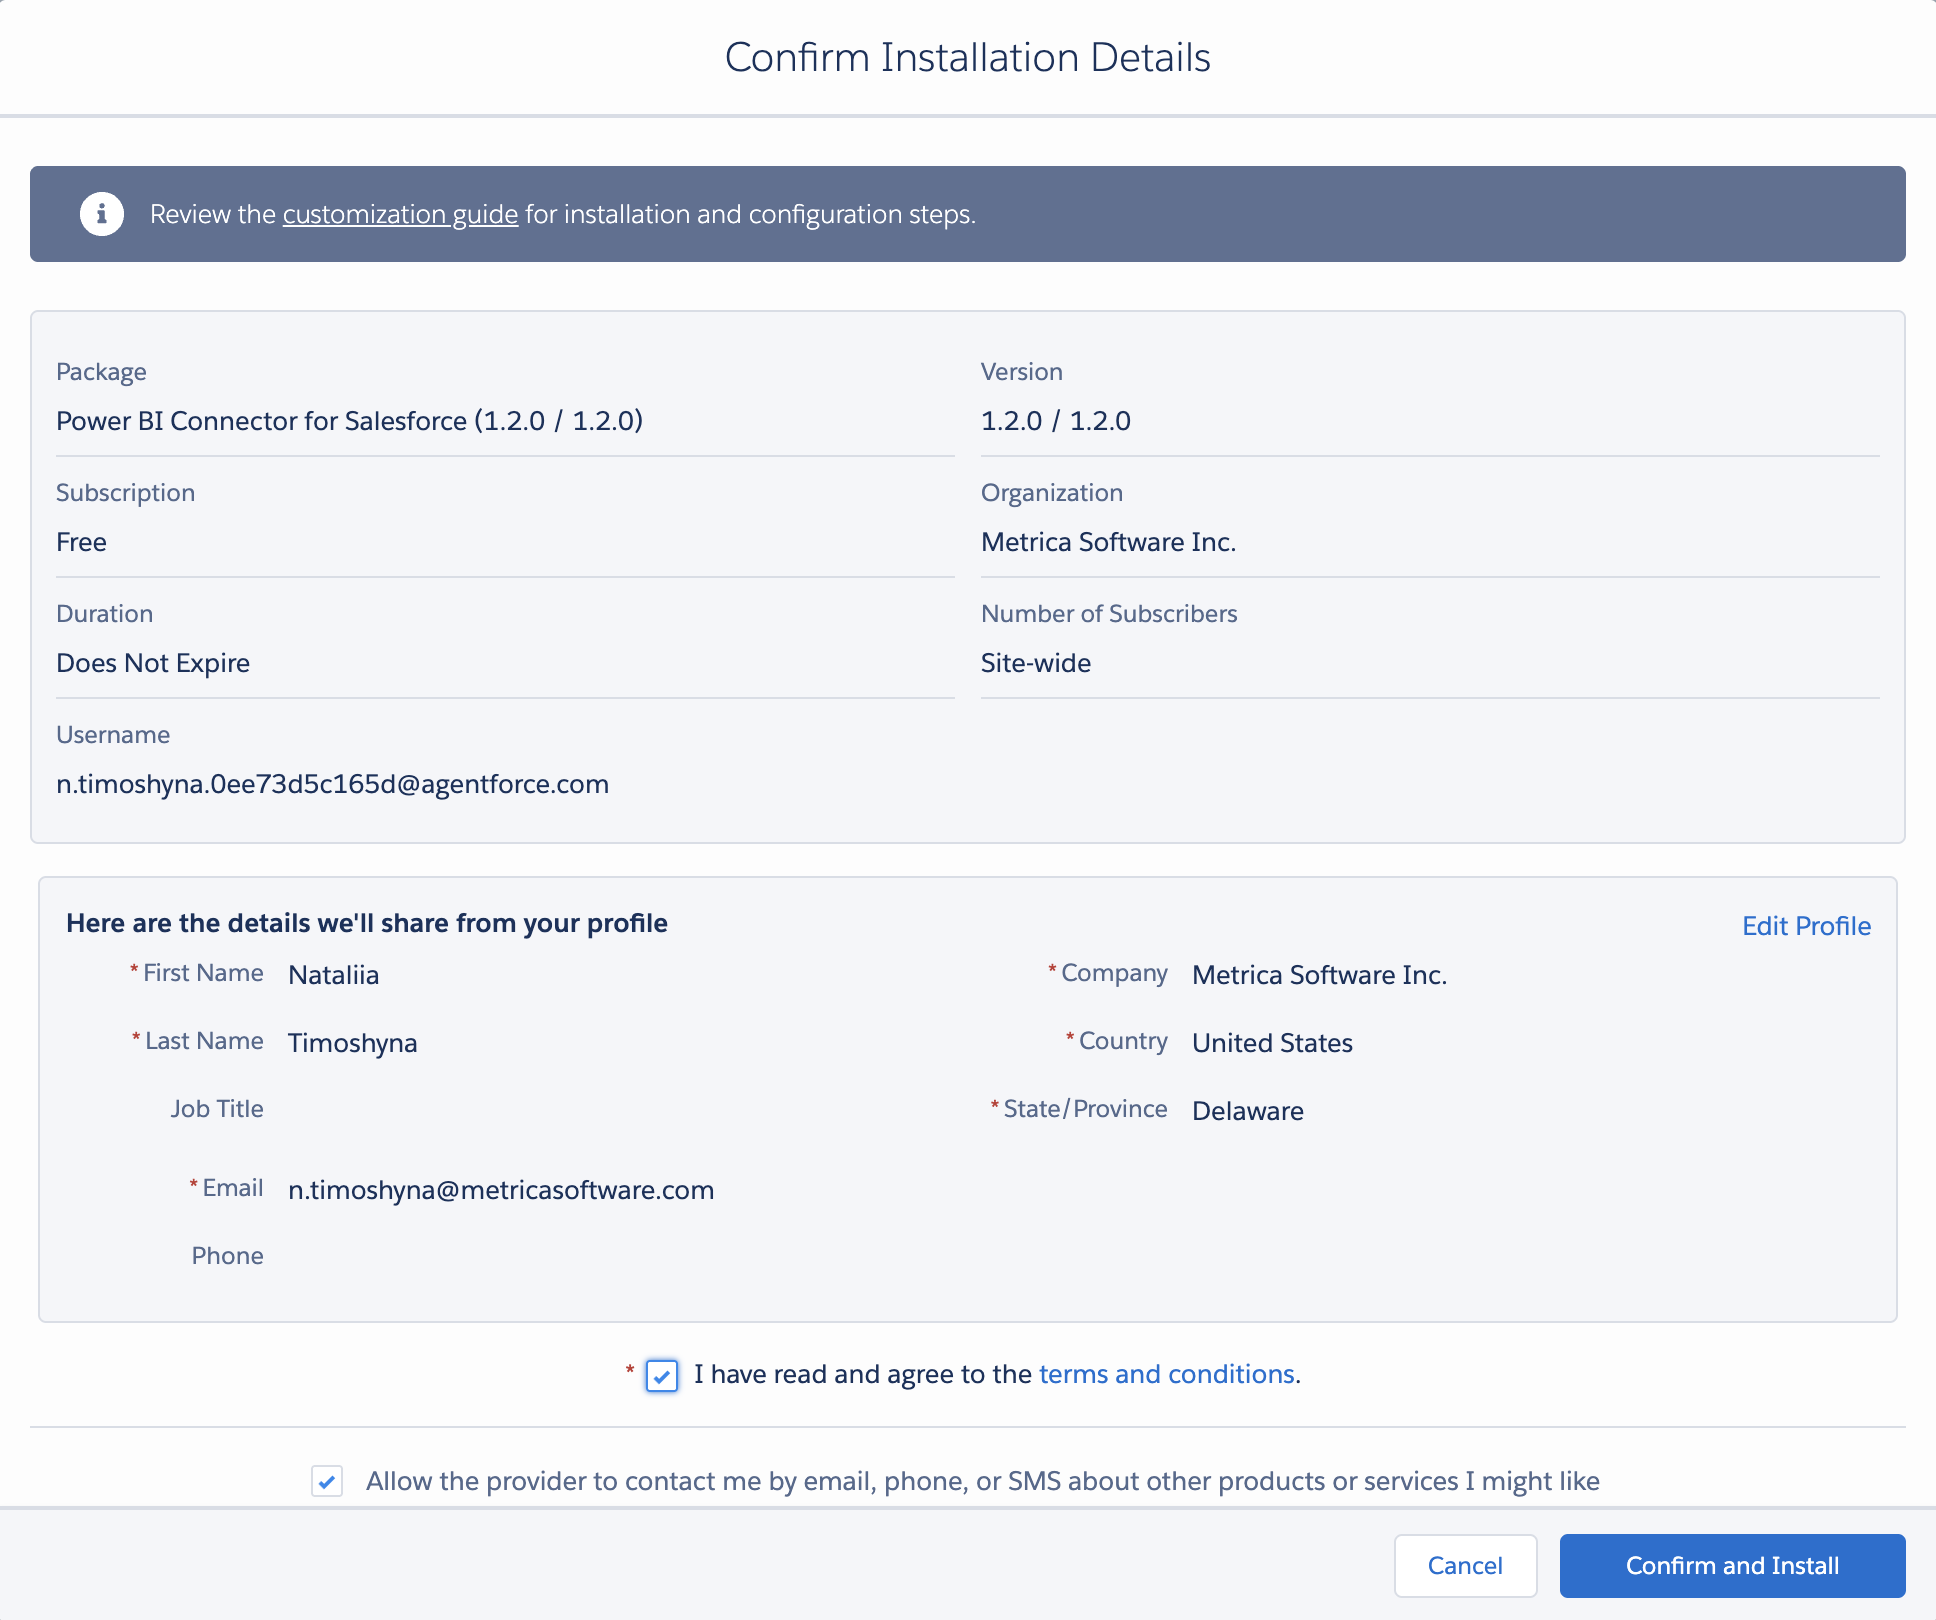
Step 6: Confirm installation details #
Review the install summary — package name, version, subscription, organization. Read and accept the terms by ticking I have read and agree to the terms and conditions, then click Confirm and Install.
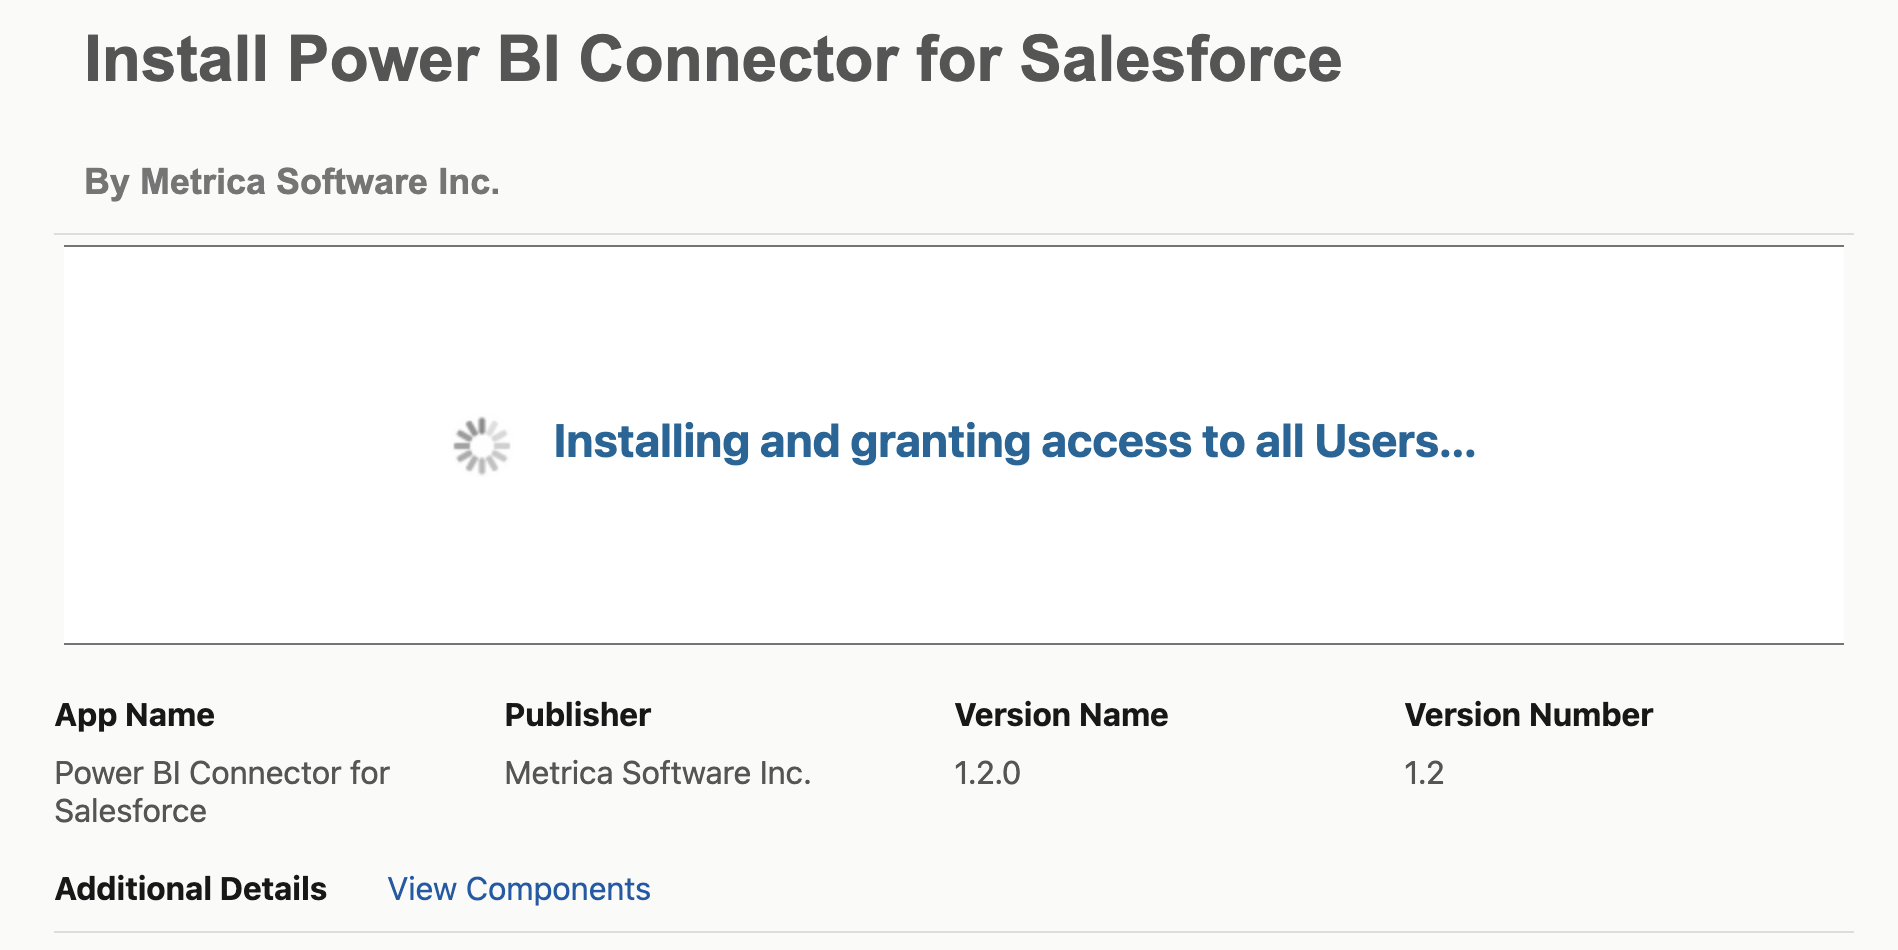
Step 7: Wait for the install to complete #
Installation usually takes a minute or two. You’ll see a progress indicator while Salesforce installs the package and grants access.
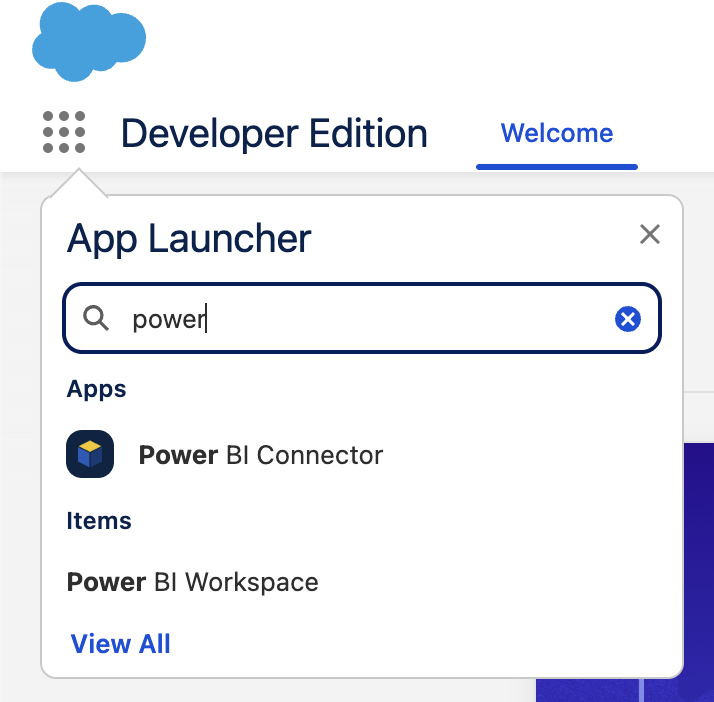
Step 8: Open the connector #
Once installed, open the App Launcher (the grid icon, top-left), search for power, and click Power BI Connector.
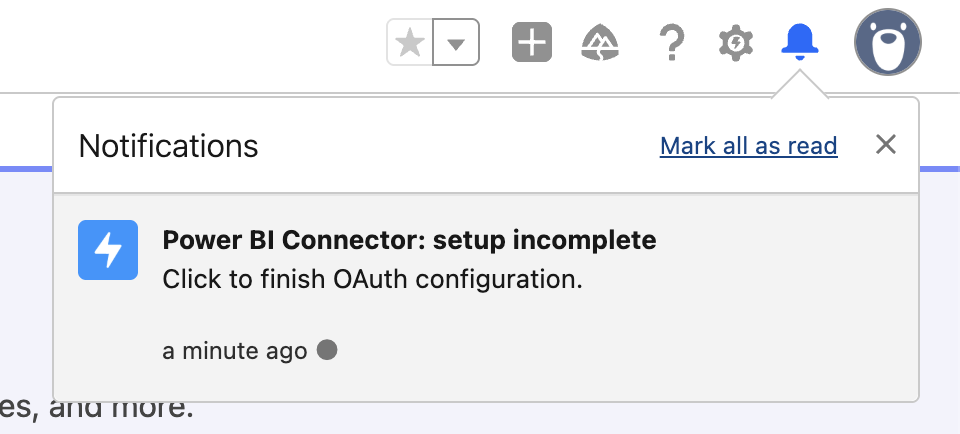
Salesforce also surfaces a notification reminding you that setup is incomplete — clicking it takes you directly to the authorization screen.
Step 9: Choose a setup path #
When you open the connector for the first time, the Authorization screen presents two options. Both end with the connector wired up to your Salesforce data — the difference is only in how the initial OAuth handshake is brokered.
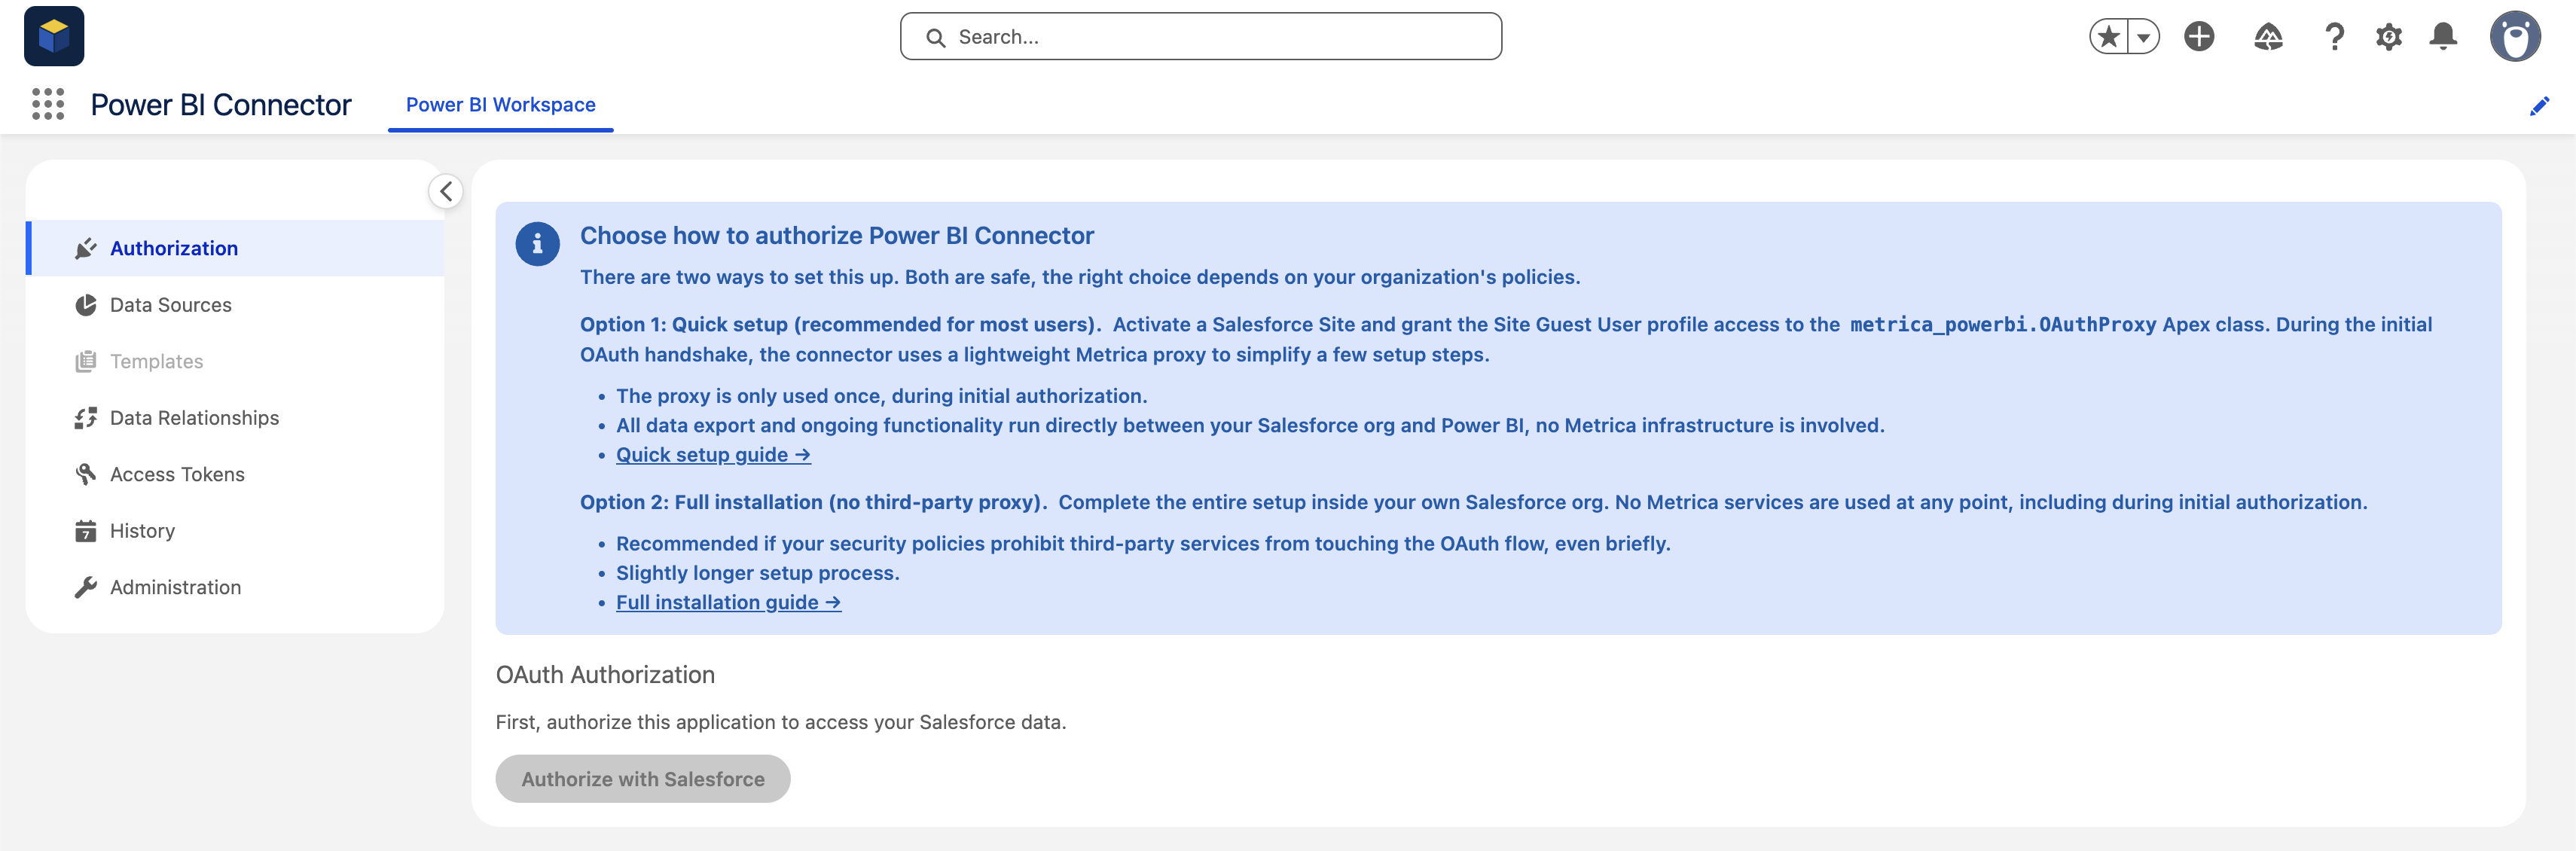
- Option 1: Quick Setup — recommended for most users. Uses a lightweight Metrica proxy for the one-time OAuth handshake; the proxy is involved only during initial authorization, and all data export afterward runs directly between your Salesforce org and Power BI. Follow the Quick Setup guide.
- Option 2: Manual Setup — complete the entire setup inside your own Salesforce org with no third-party services involved at any step. Recommended if your security policies prohibit third-party services from touching the OAuth flow, even briefly. Follow the Manual Setup guide.


