Power BI Connector for Salesforce uses a public Salesforce Site as the entry point for OAuth authorization. The metrica_powerbi.OAuthProxy Apex class runs under the Site Guest User profile and brokers the initial handshake between Power BI and your Salesforce org. Without an active Site and the correct guest-user permissions, the connector cannot complete authorization — which is what triggers the “Site URL is not configured” warning in the app.
metrica_powerbi.OAuthProxy.Step 1: Navigate to Sites #
In Salesforce Setup, go to:
Setup → User Interface → Sites and Domains → Sites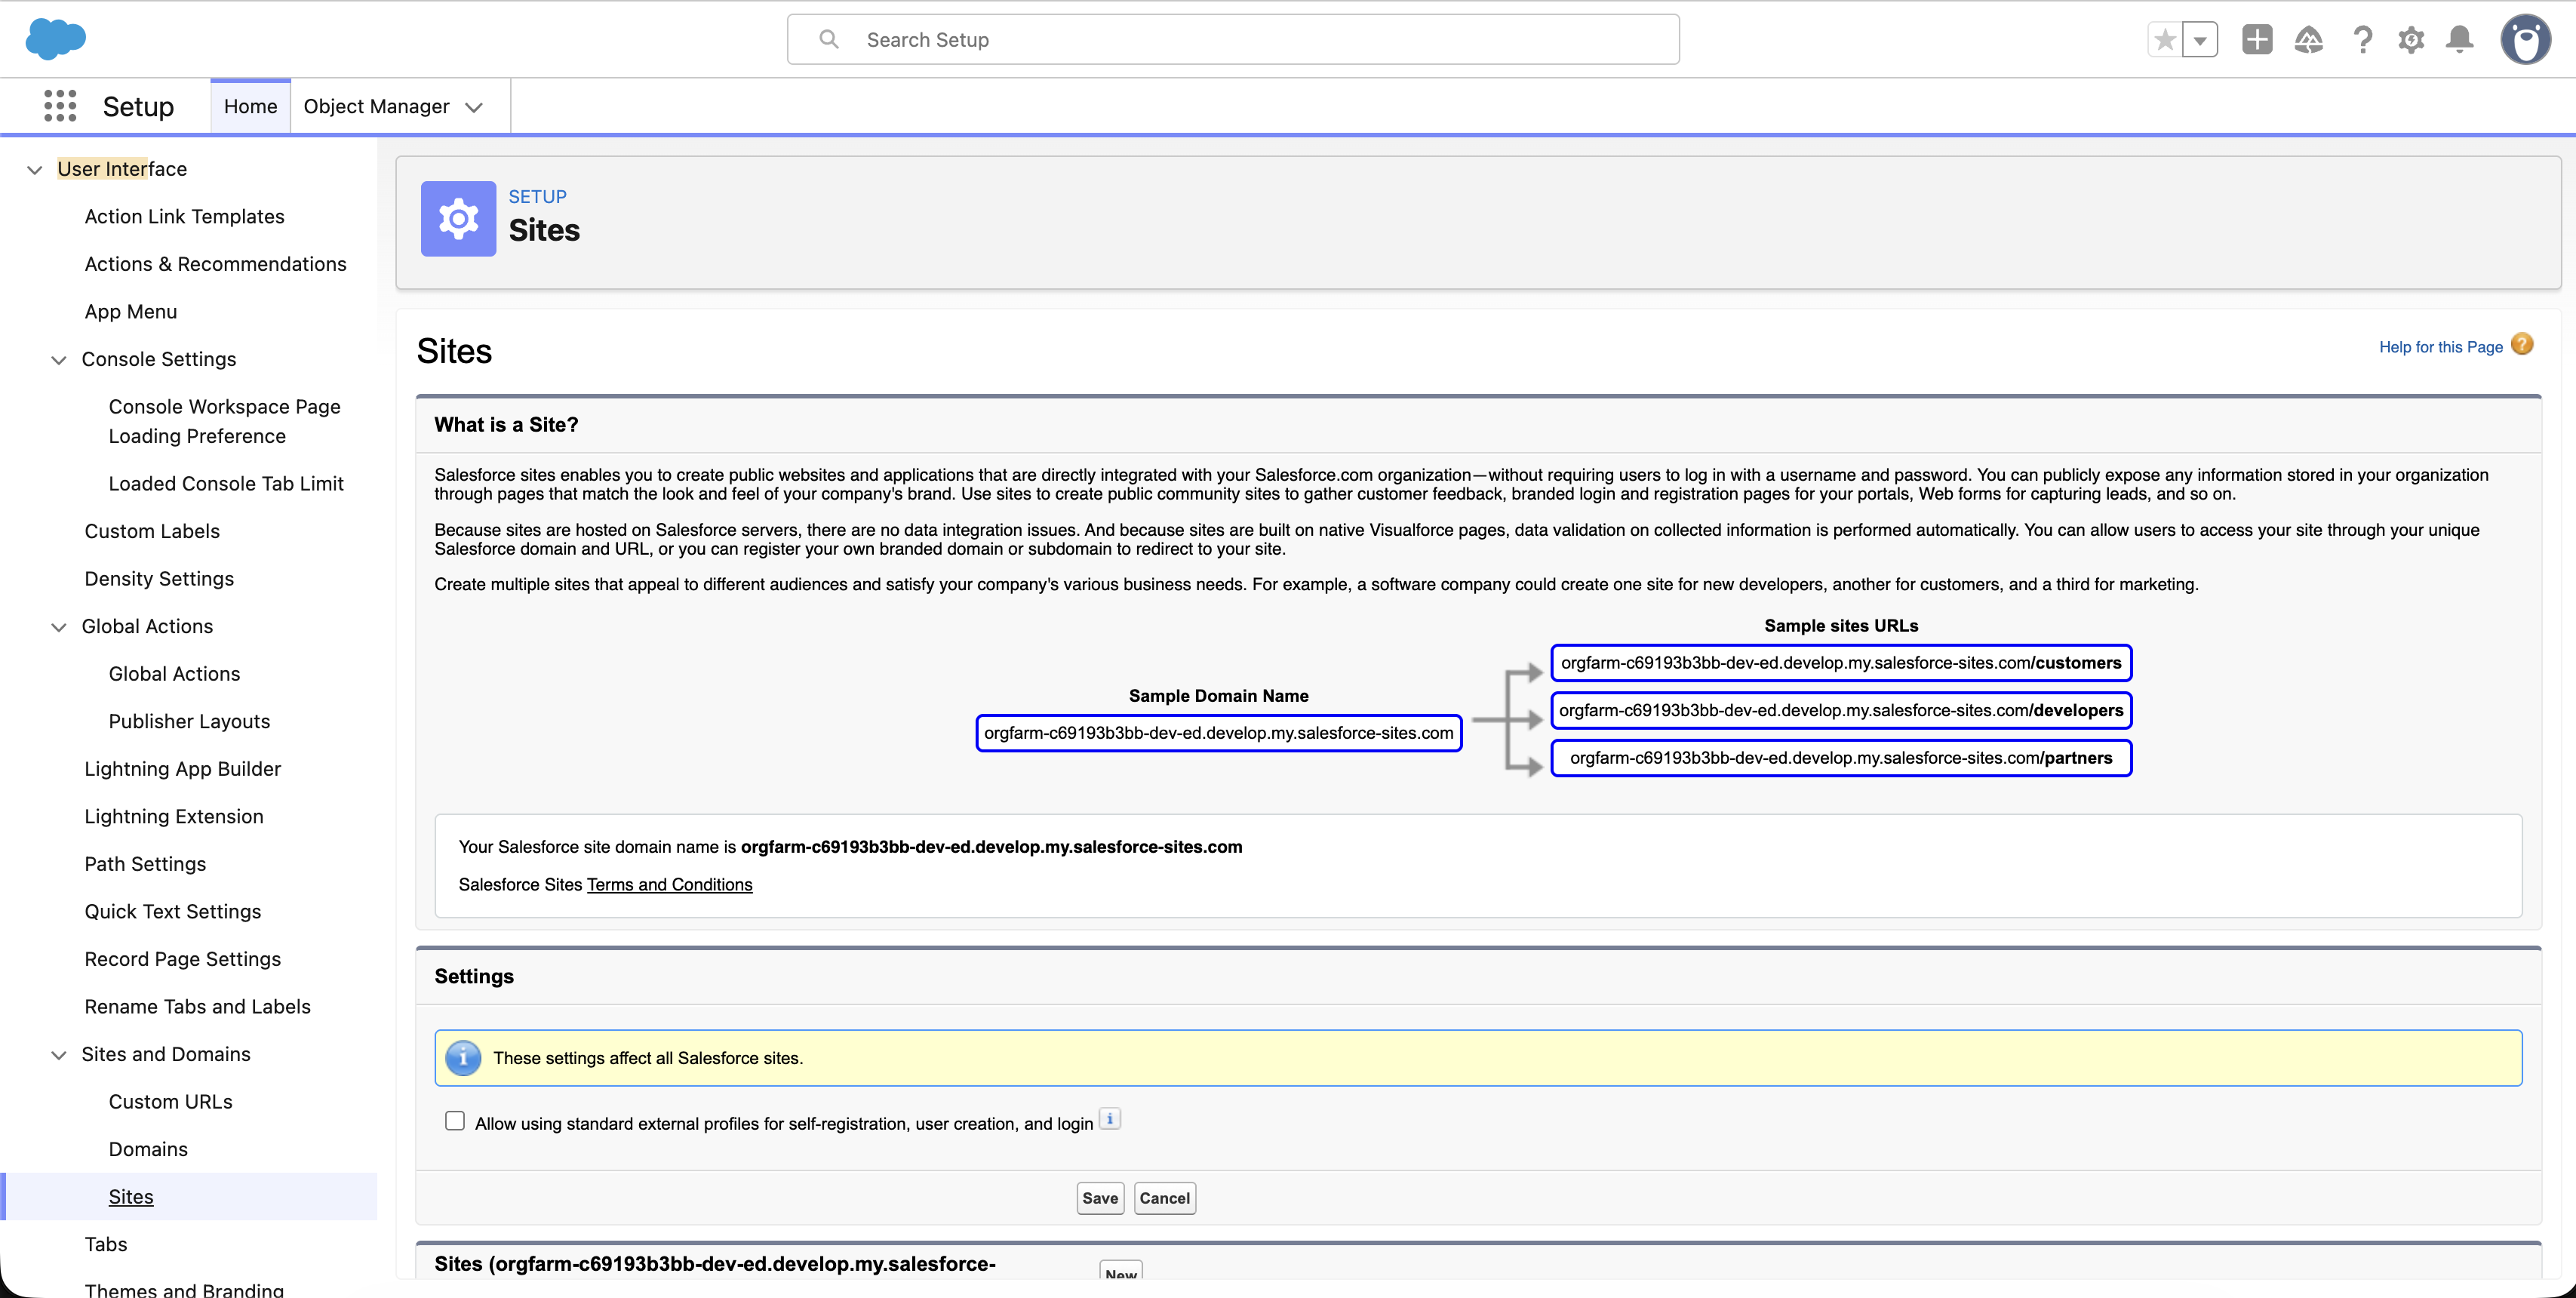
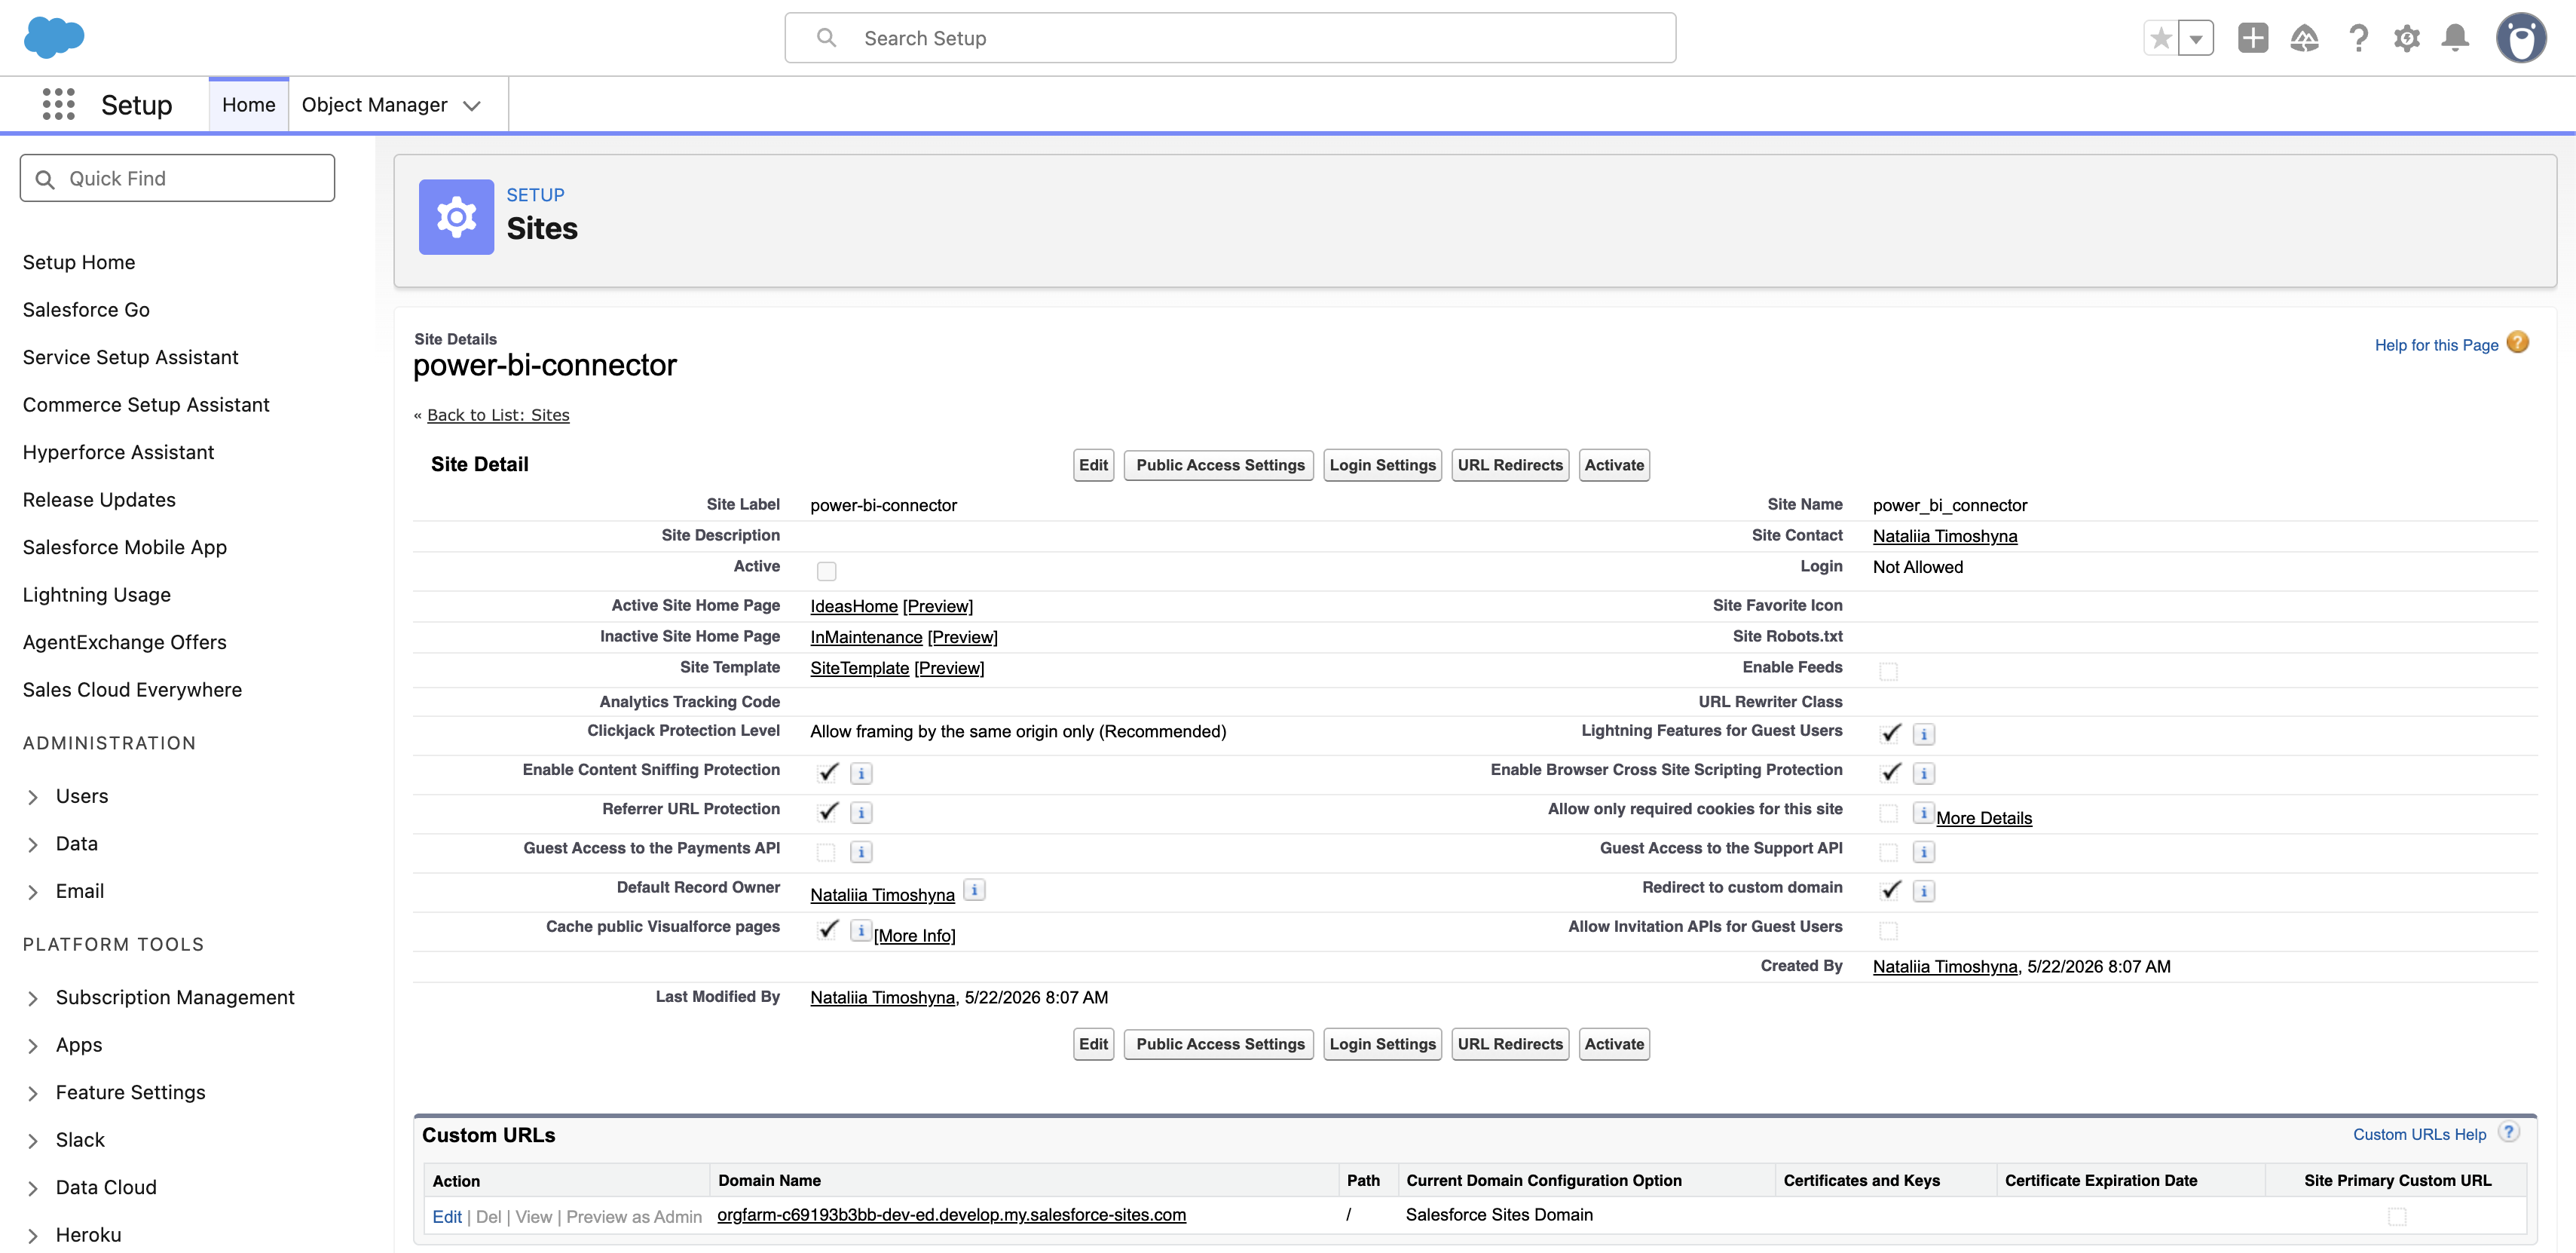
Step 2: Create a New Site #
- Click New.
- Fill in the required fields — any appropriate values are fine.
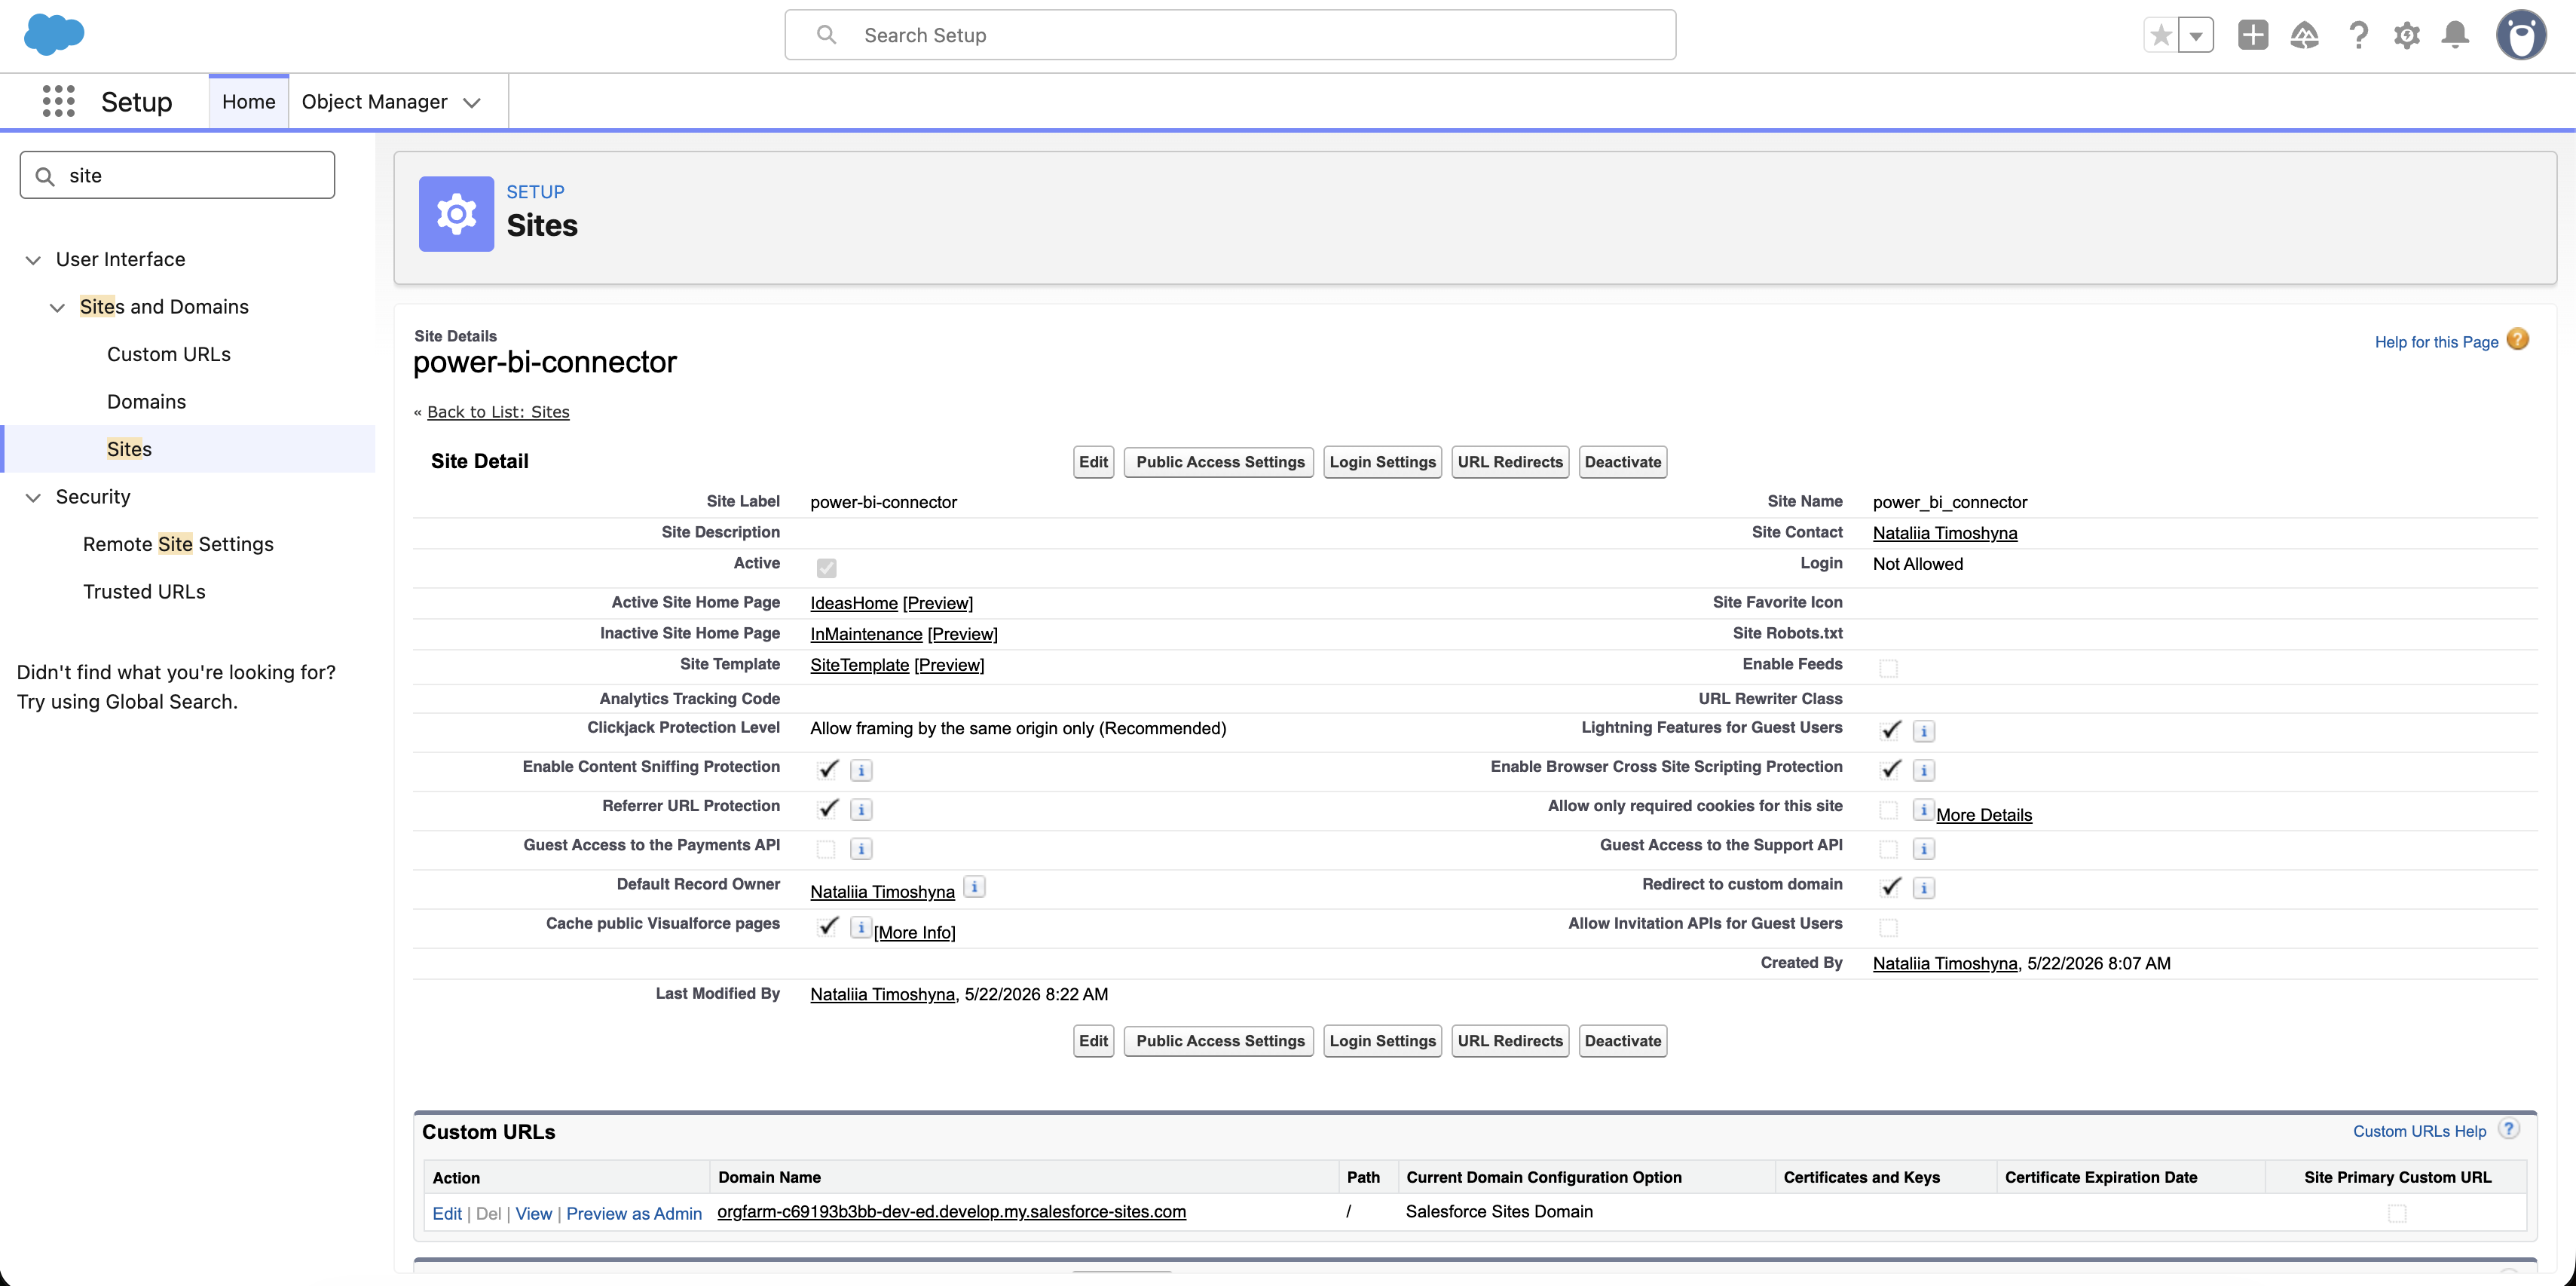
- Make sure the Active checkbox is selected.
- Click Save.
Step 3: Enable Apex Class Access #
This is the step that clears the “Site URL is not configured” banner. The Site Guest User needs explicit permission to invoke the OAuthProxy class:
- Click the site label to open Site Details.
- Click Public Access Settings.
- Scroll to Enabled Apex Class Access.
- Click Edit.
- Add
metrica_powerbi.OAuthProxy - Click Save.
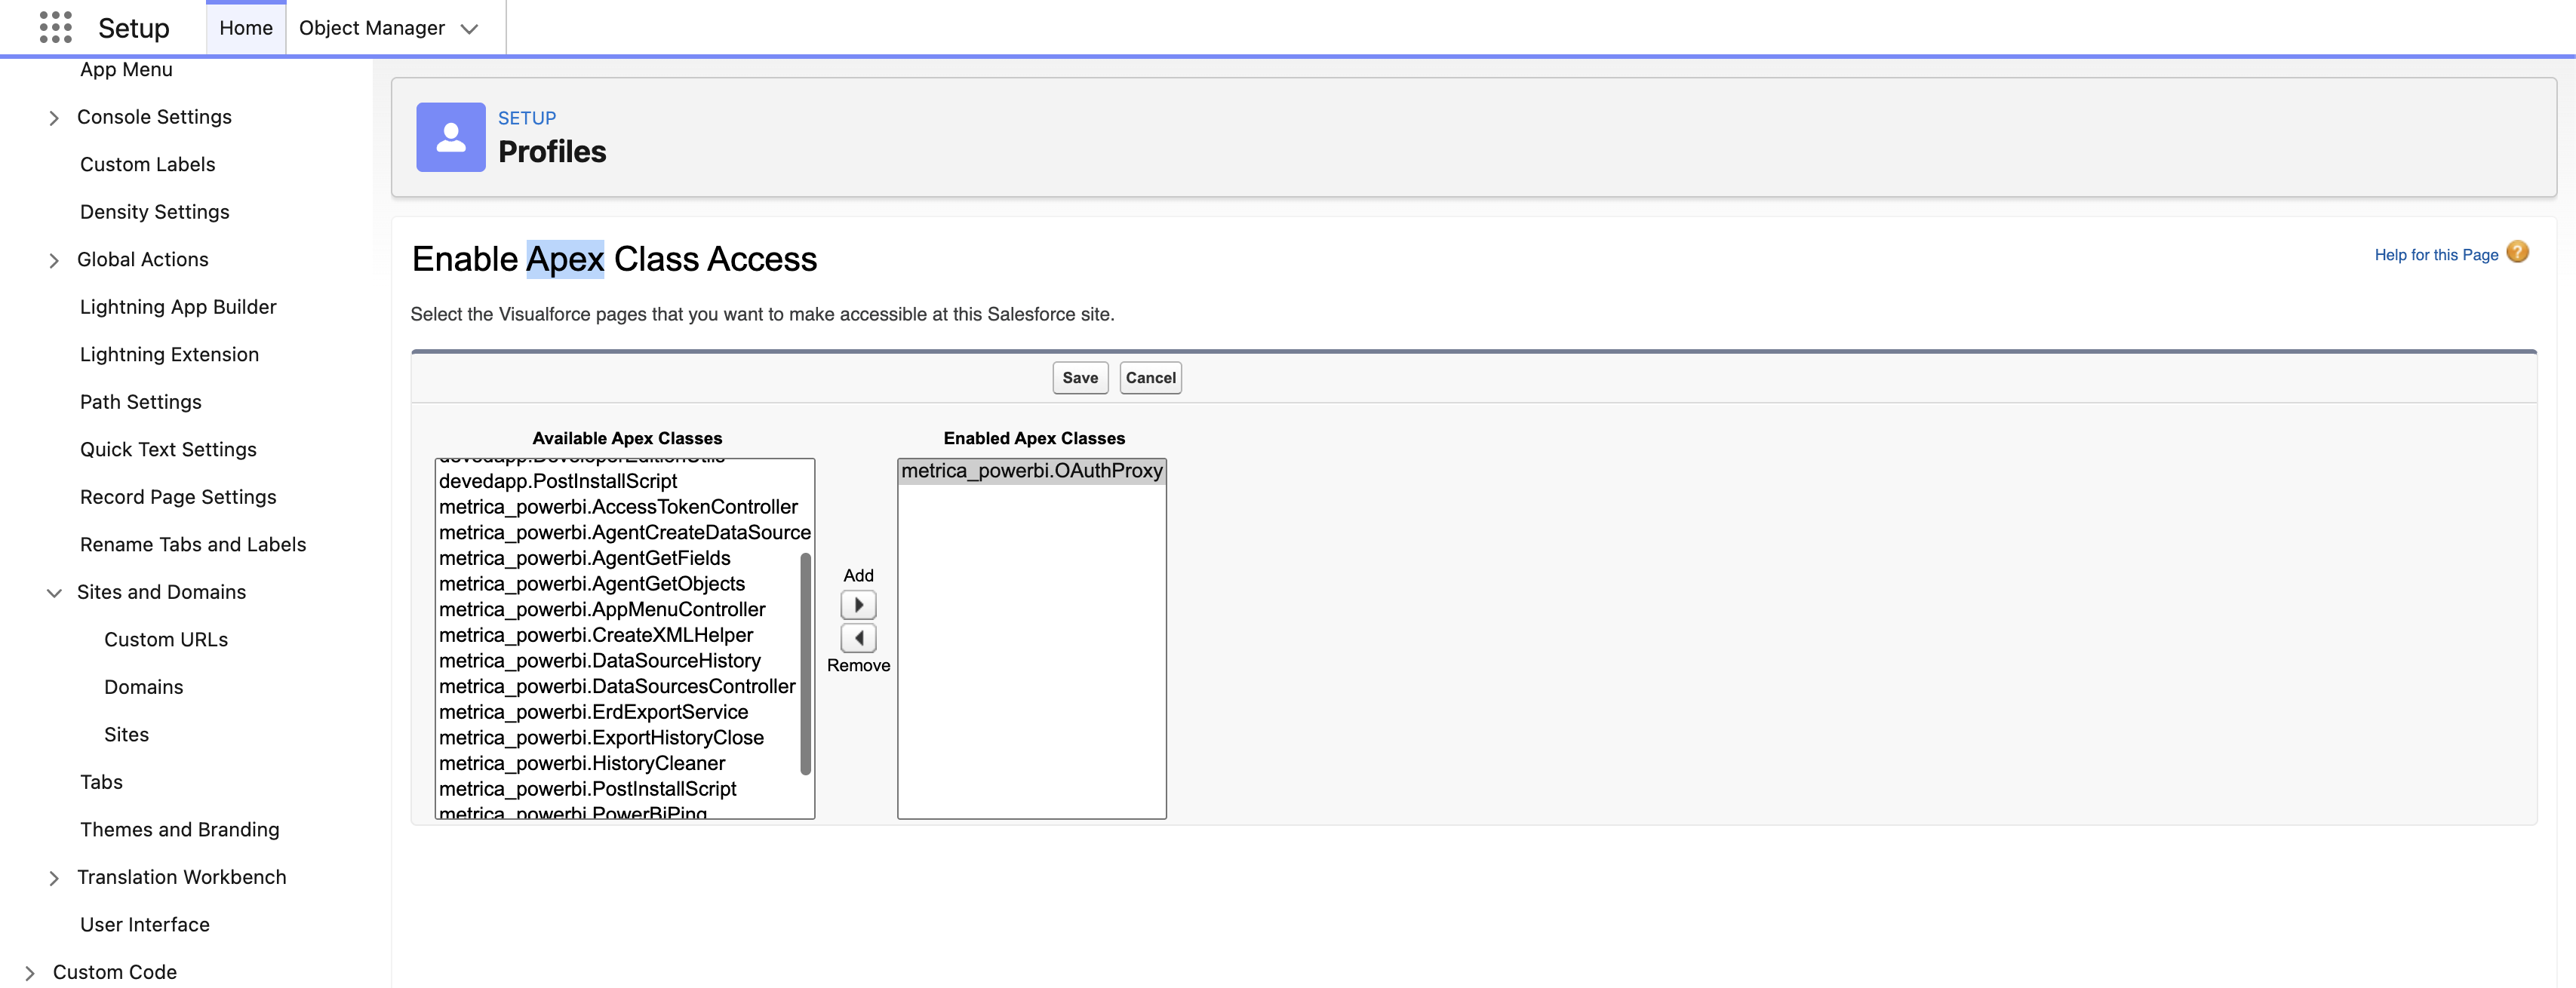
metrica_powerbi.OAuthProxy, the connector’s authorization flow will fail silently — the OAuth callback cannot reach a class the guest user is not allowed to execute.Step 4: Authorize the connector #
Open the Power BI Connector app from the App Launcher in Salesforce. On the Power BI Workspace tab you should see the OAuth Authorization panel:
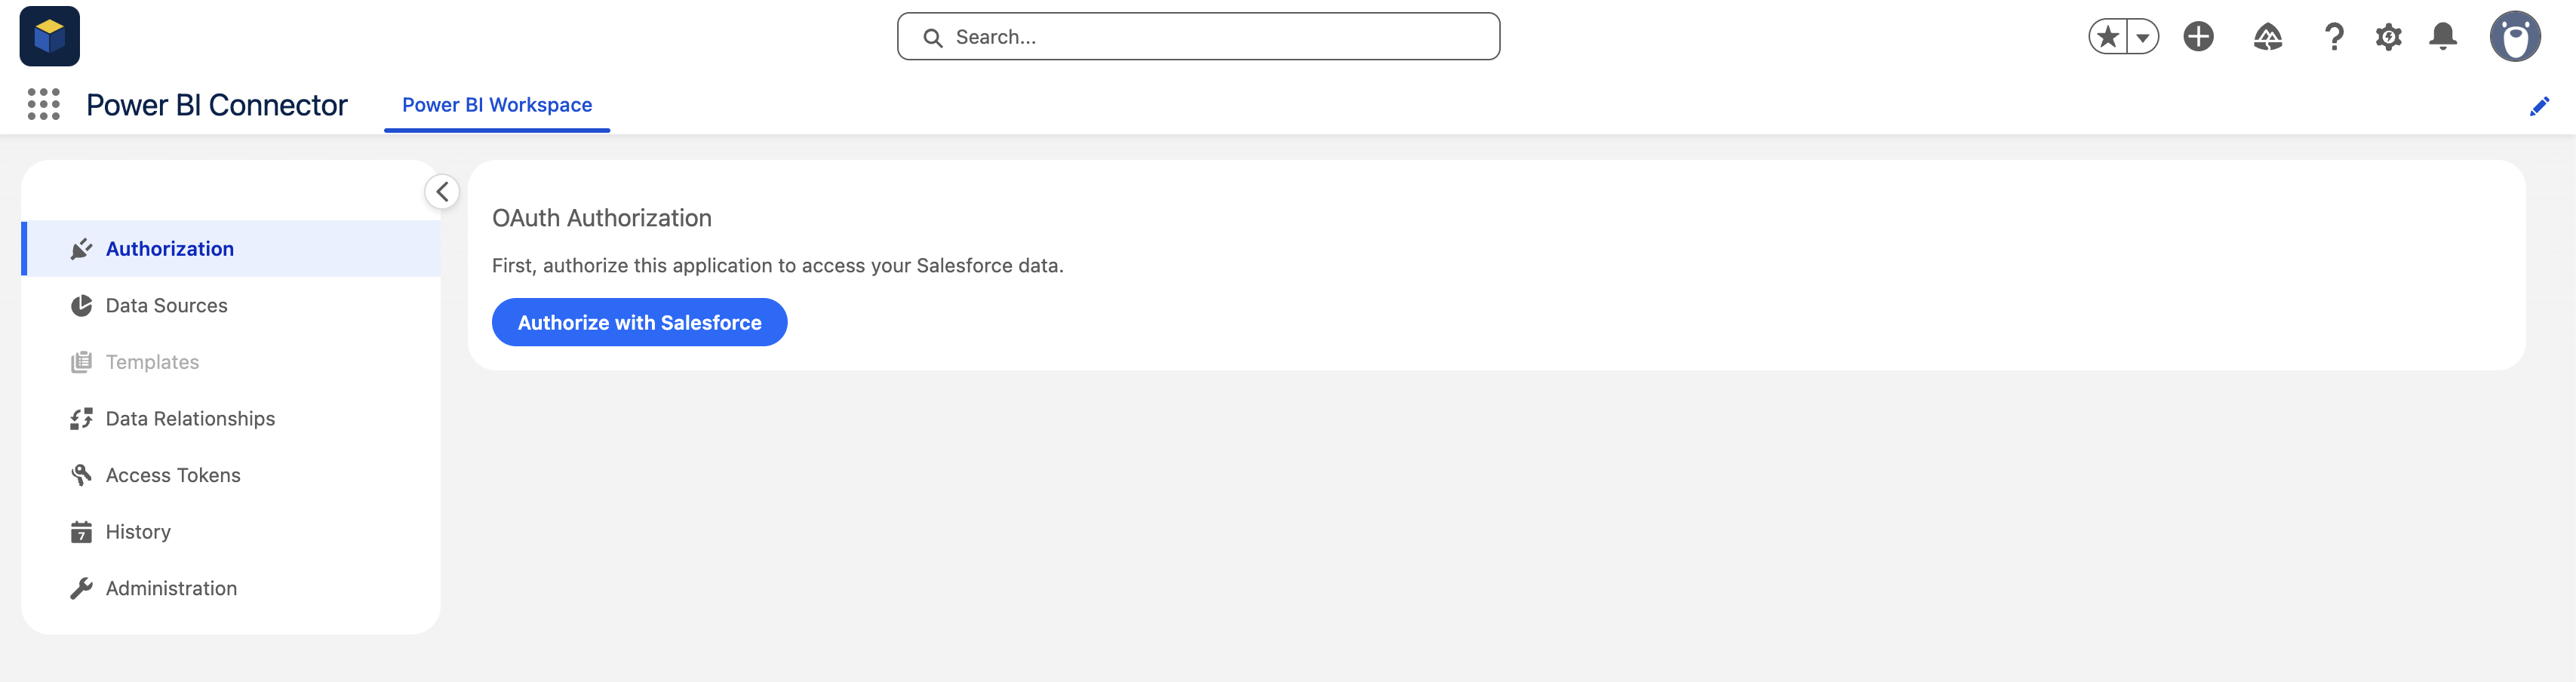
Select Authorize with Salesforce to complete setup. After authorization you can move on to creating your first data source — see How to Create Data Source.


