This page orients newcomers to Power BI Connector for HubSpot — where it lives inside HubSpot, what the left navigation does, and the shortest path to your first report.
Where the connector lives #
Power BI Connector for HubSpot is a HubSpot UI Extension. Once an administrator installs it from the HubSpot Marketplace, it appears as an app inside your HubSpot portal at app-na2.hubspot.com/app/. You sign in to HubSpot the way you normally do; the connector inherits your HubSpot identity — if you can use HubSpot, you can use the connector. There is no separate Metrica login.
Can’t see the connector in your HubSpot apps list? Ask your HubSpot Super Admin to install it from the Marketplace and grant your user access. See Installation Guide.
The left navigation #
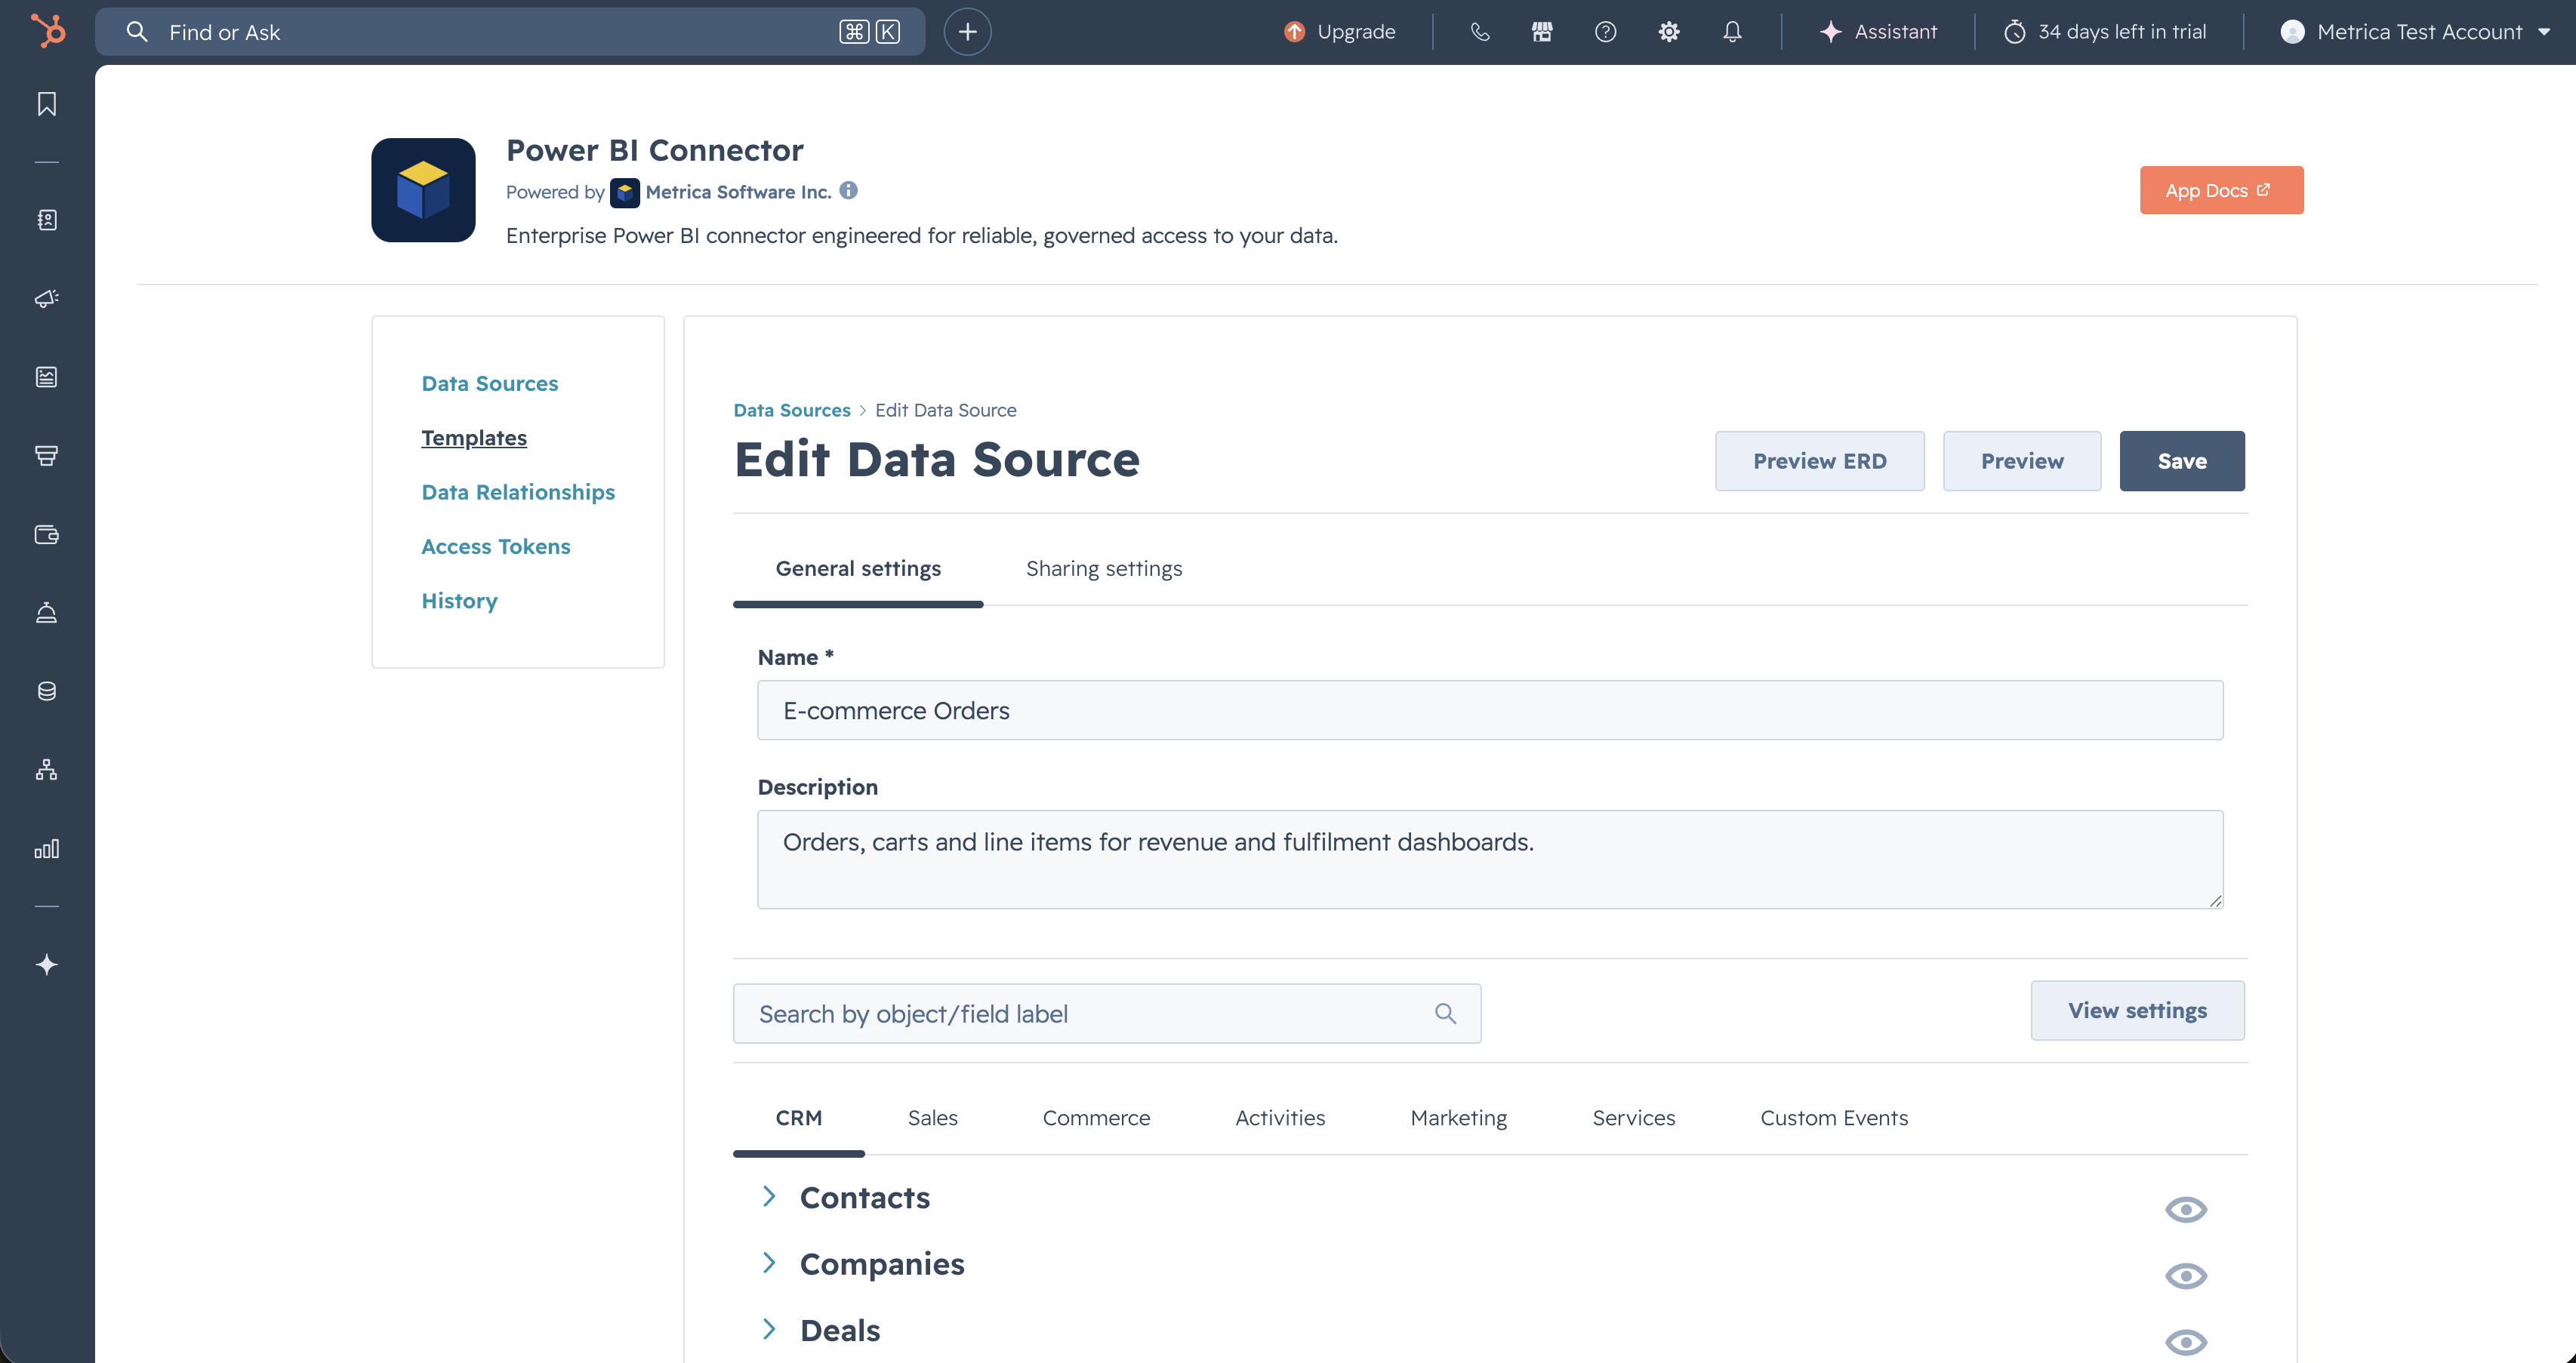
The connector has five sections in its left sidebar:
- Data Sources — the heart of the app. Browse, create, edit, share, clone, and delete data sources. Each data source is a HubSpot → Power BI bridge with its own OData URL. See Create a Data Source.
- Templates (Coming soon) — pre-built data source recipes for common reporting scenarios (sales pipeline, marketing engagement, support tickets). Not yet shipped.
- Data Relationships — a catalog-wide map of associations between every HubSpot object the connector exposes. Useful for planning. See Explore Associations. (Feature in development.)
- Access Tokens — create, label, and revoke the personal access tokens Power BI uses to read your data sources. See Create an Access Token.
- History — the audit log. Three tabs cover data-source changes, token lifecycle, and Power BI export requests. See History.
The top action bar #
While editing or creating a data source, the top right of the form shows three buttons: Preview ERD (renders the ERD for the current selection), Preview (shows a sample of the rows your selection will return), and Save. All three stay disabled until the form is valid (a name plus at least one property).
Getting help #
This documentation site is the main reference. For specific issues:
- Troubleshooting — common errors and their causes.
- Contact Support — raise a ticket, report a bug, request a feature.
What to read next #
If you’re new, follow the Quickstart for the shortest path from zero to a working report. If you’ve inherited a data source from a colleague, jump to See What’s Been Shared with You.


