Share a data source to let other users read it, refresh its OData URL from Power BI, and clone it for their own use. Sharing is read-only: recipients cannot rename, re-share, or delete the data source, and any edits they try in the form are rejected at save time.
Who can share
- The owner of a data source can manage its sharing list.
- Admins can manage sharing on any data source in the portal, including ones they don’t own — useful when the owner is unavailable or the data source needs to be re-shared after the owner leaves the team.
- To hand sharing control to another non-admin user, transfer ownership — see Transfer Data Source Ownership.
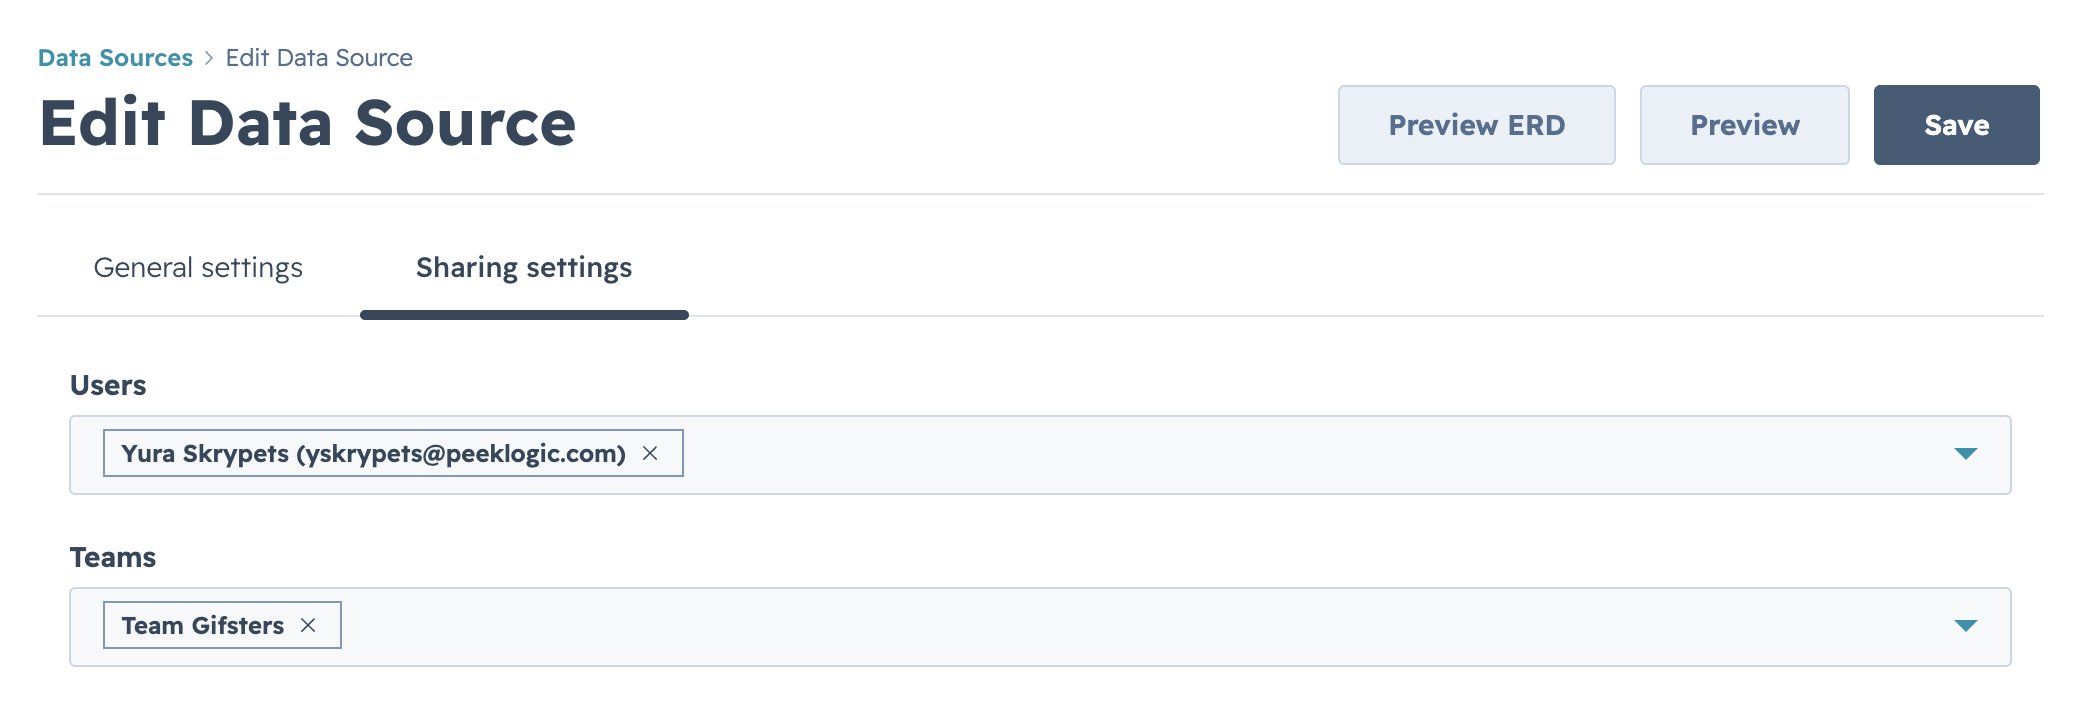
Open the Sharing settings tab #
On Data Sources, open the row’s Actions menu, select Edit, then switch to the Sharing settings tab.
Add users and teams #
HubSpot Connector understands two ways to share:
- Users — pick individual HubSpot users by name or email. Each person you add can read the data source and load it in their own Power BI Desktop with their own access token.
- Teams — pick HubSpot teams; everyone on the team gets the same read access automatically, including users added to the team later. Useful when your permissioning already mirrors org structure in HubSpot.
Both pickers are searchable. You can mix users and teams freely on the same data source. To remove a user or team, click the small × on its chip.
Each recipient must be a registered user of Power BI Connector for HubSpot in your HubSpot account. Sharing with an unrecognised address will fail at save time with a clear inline message.
Save #
Select Save to apply the sharing changes. The dialog closes and the recipients can immediately find the data source under Shared with me in their data sources list.
What recipients see #
- The data source row appears under the Shared with me filter on their Data Sources page.
- Opening the row shows the same form as the owner sees, but with all inputs read-only and a yellow banner explaining the read-only state.
- The OData URL is the same one the owner uses, so the recipient can paste it into Power BI Desktop straight away.
- Recipients can clone the data source into their own list — see Clone a data source.


