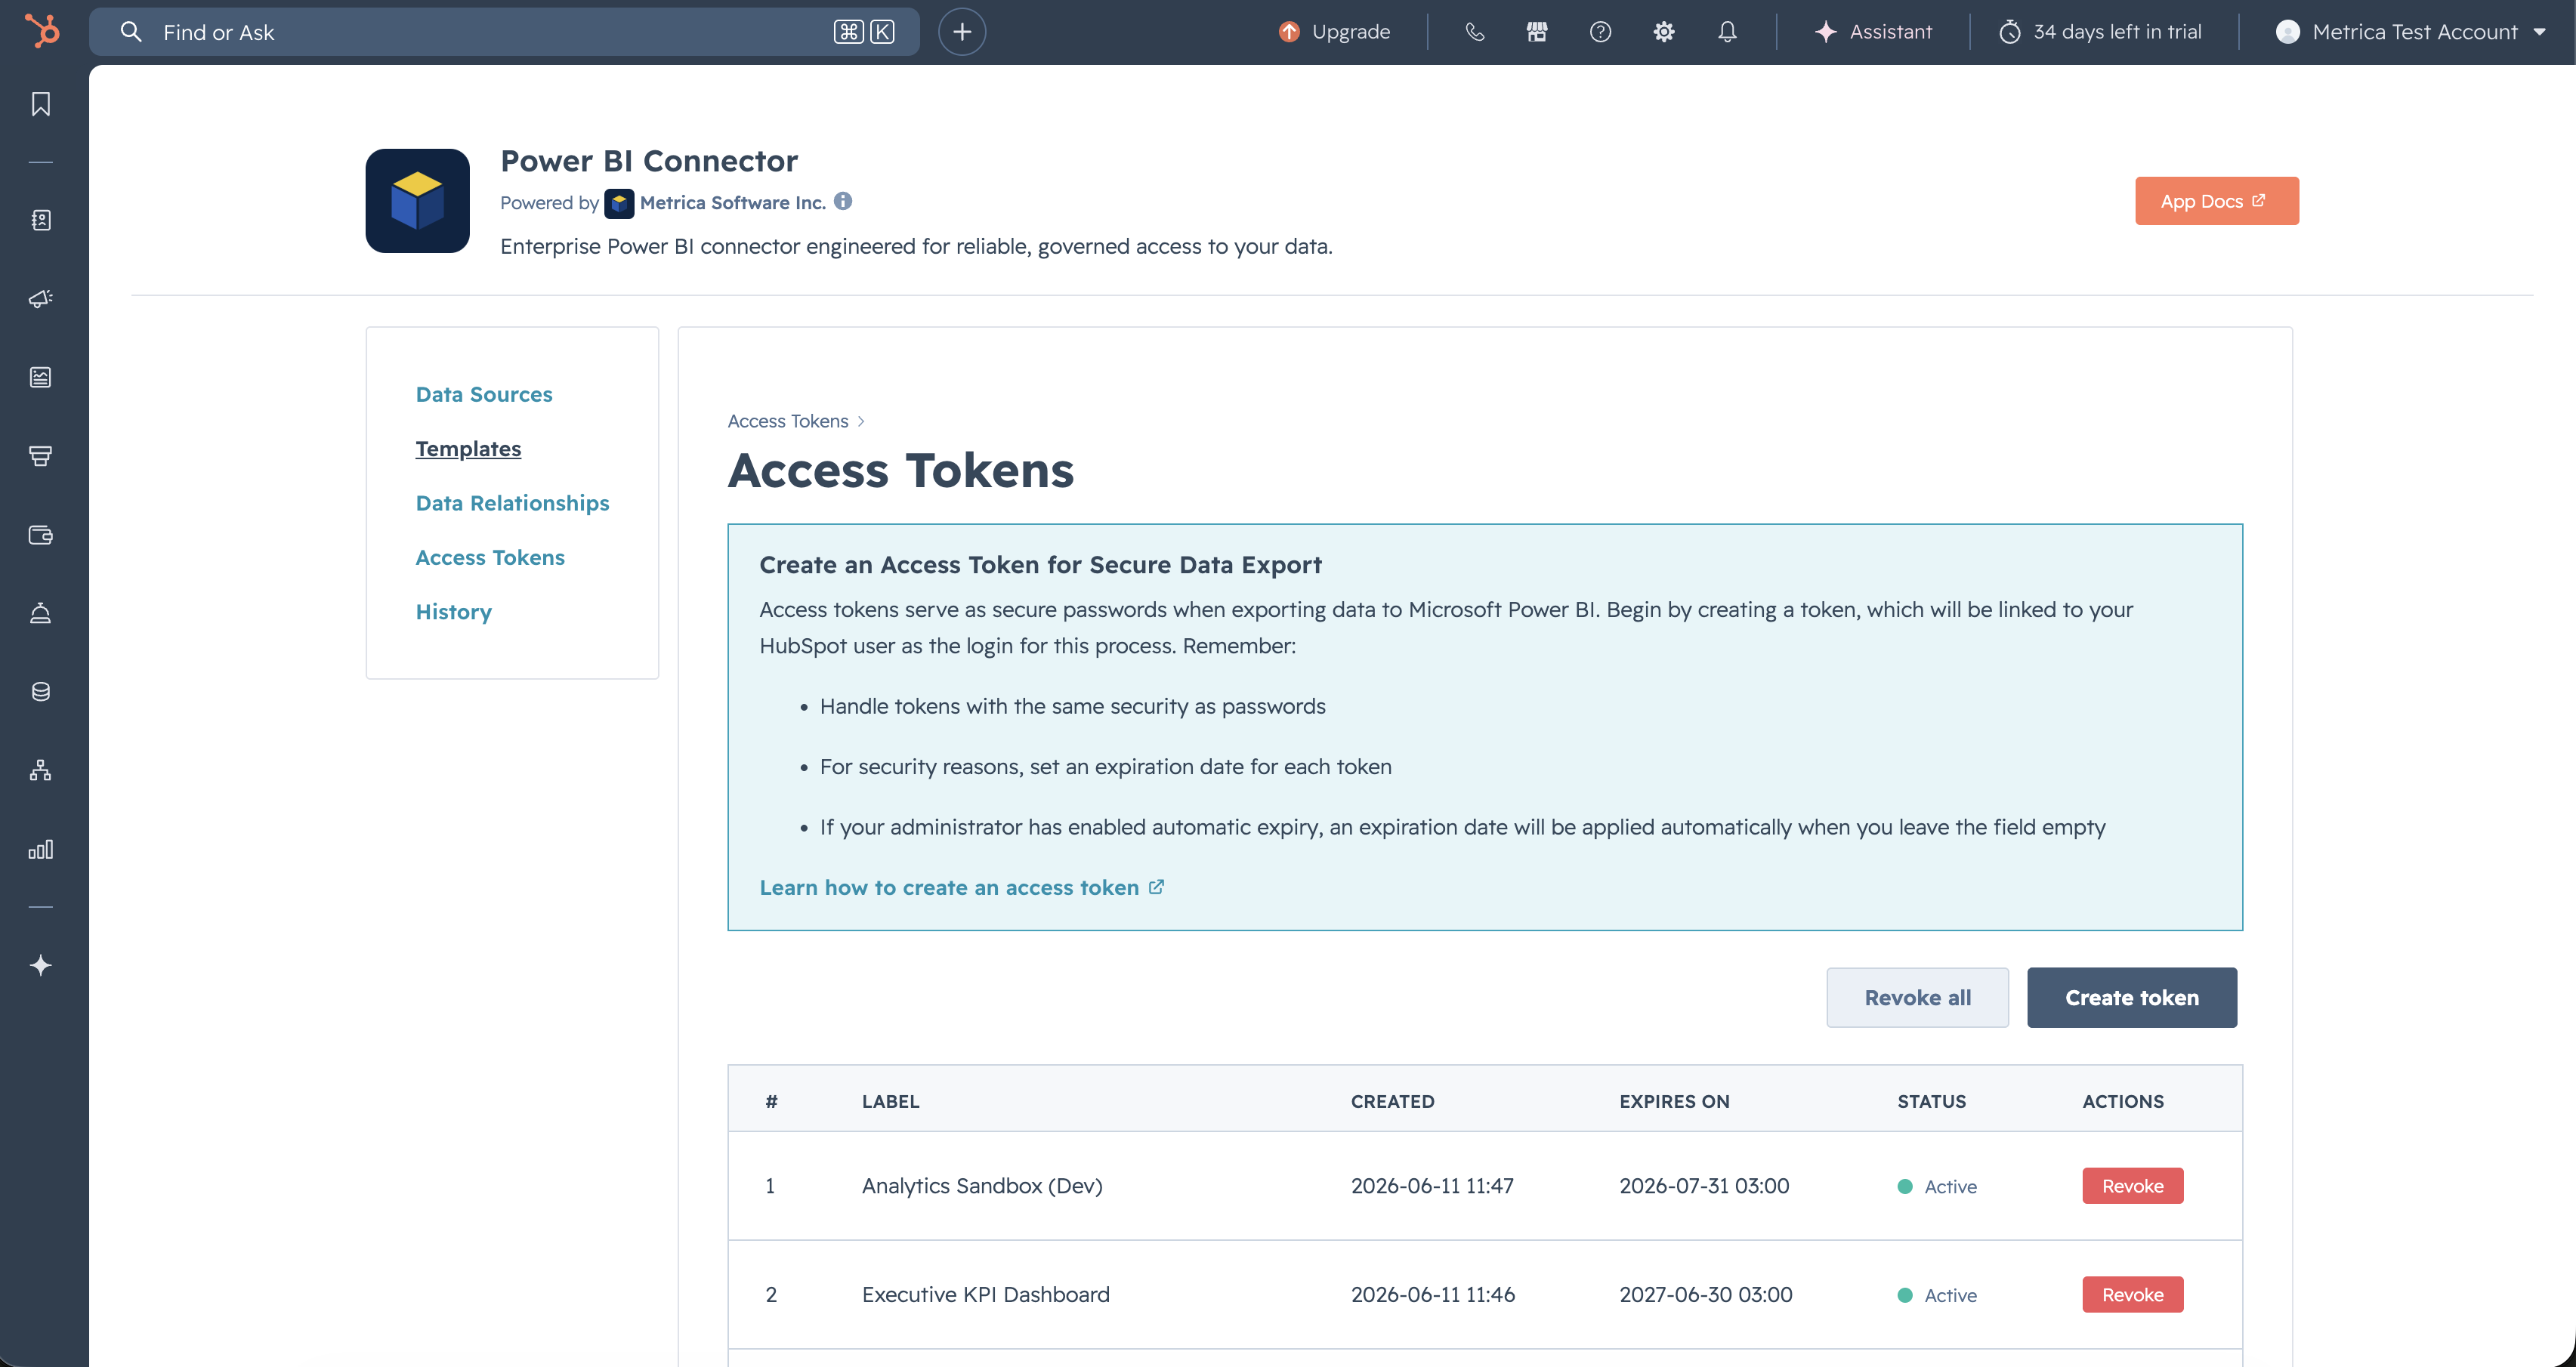
The Access Tokens page is your single view of every token you’ve created. Use it to label new tokens, check their expiry, and revoke ones you no longer need.
What the list shows #
Each row shows:
- Label — the description you provided at creation.
- Created at — creating date.
- Expires on — either an absolute date (if the expiry policy enforces expiry) or No expiry.
- Status — Active, Expired, or Revoked. Only Active tokens authenticate successfully.
- Actions — Revoke (per-row) and Revoke all (in the toolbar).
Revoke a token #
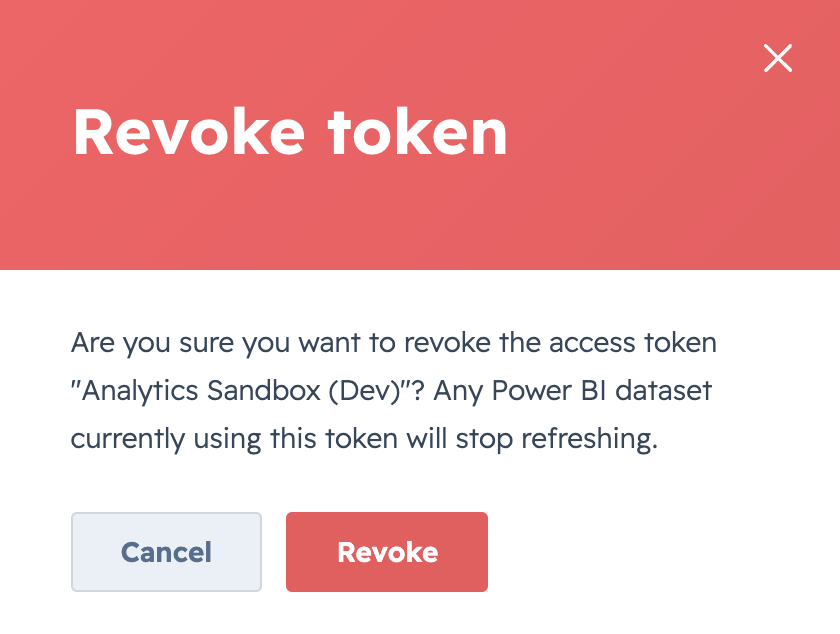
Select Revoke on the row. A confirmation dialog opens; confirm to revoke. The row’s status flips to Revoked and any Power BI refresh that uses the token fails on the next attempt.
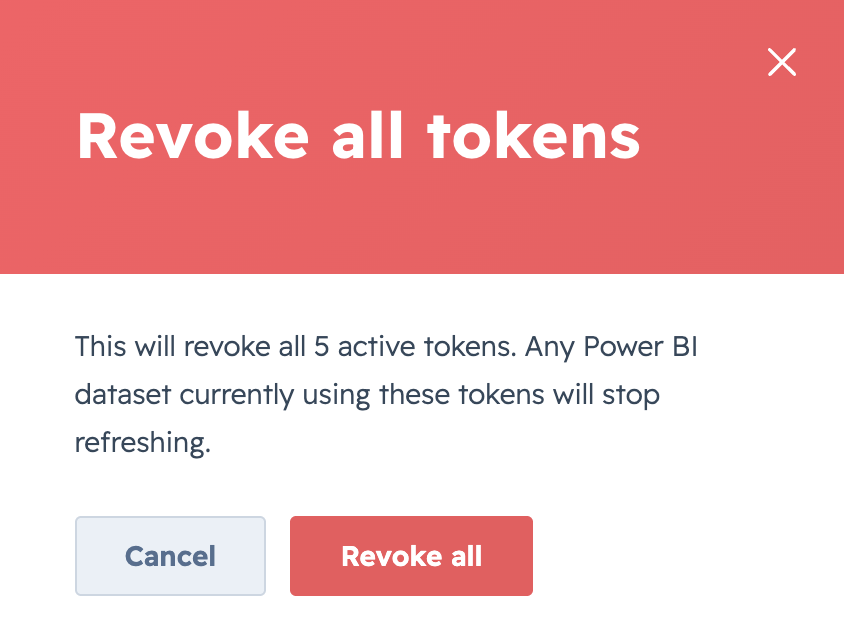
To revoke every active token at once — for example, after losing a laptop — use Revoke all in the toolbar. The same confirmation pattern applies.
Revoked and expired tokens stay in the list as audit history.
Token expiry policy #
Administrators can enforce a account-wide expiry policy: every newly created token gets a fixed lifetime in days, after which it auto-expires. See Configure the token expiry policy for how to set this up.
Related #
- View activity history — every token issuance and revocation appears in the Access Tokens history tab.


